Listener Q&A gives your audience a way to submit questions that you can feature in upcoming episodes. Questions arrive through channels you control (web form, SMS, voice, or WhatsApp), land in a moderation queue, and can be woven into episode scripts automatically or by hand.
This guide covers turning the feature on, choosing channels, setting up auto-approve and rate-limit rules, configuring notifications, and embedding the submission form on your own site.
Before you start
You need an active podcast in your Mato workspace. If you have not created one yet, follow the podcast creation wizard first.
Q&A settings save independently from other podcast settings, so changes you make here will not interfere with unsaved edits elsewhere on the settings page.
Turn on Listener Q&A
Open your podcast's settings page. In Narrative mode, scroll to section 7, "The listener loop." In Grouped mode, click Listener Q&A under the Delivery group in the sidebar.
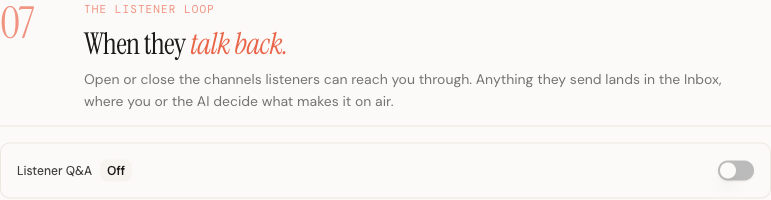
Flip the Listener Q&A switch to the on position. A status badge next to the label changes from "Off" to "Active," and the channel configuration panel appears below.
If Q&A is off, visitors who land on your podcast's Q&A inbox page will see a prompt directing them to enable it from settings.
Choose your channels
Once Q&A is active, a grid of four channel cards appears. Click a card to toggle that channel on or off. Active cards are filled; inactive cards are outlined.
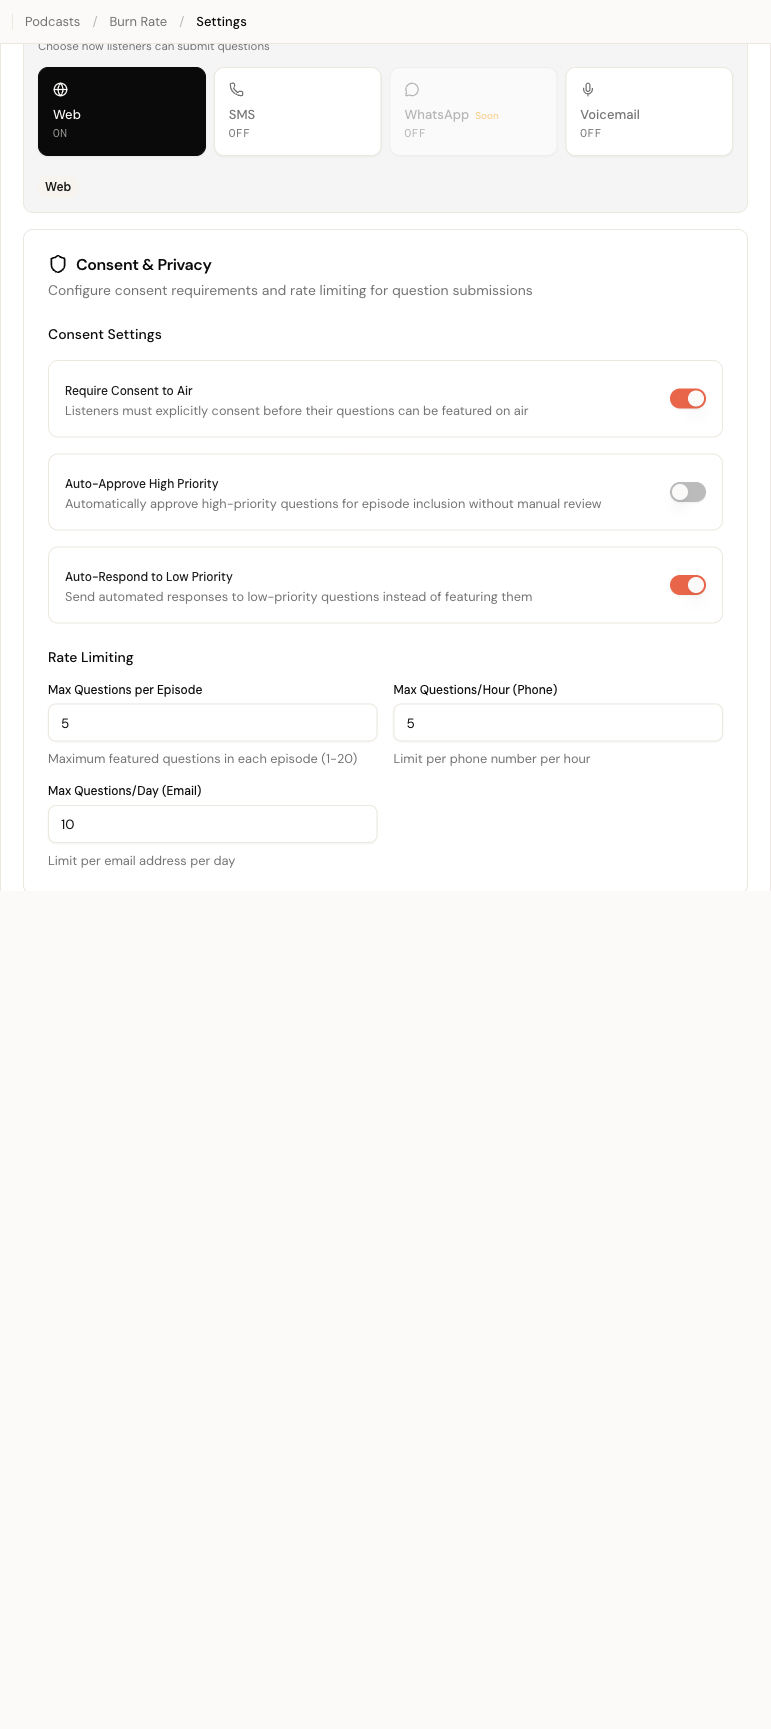
The available channels are:
- Web accepts questions through a hosted form on your Mato site and through an embeddable widget you can place on your own website.
- SMS accepts questions via text message to a dedicated phone number.
- Voicemail accepts questions through recorded phone calls to the same dedicated number.
- WhatsApp is listed but not yet available. The card shows a "Soon" label and cannot be toggled on.
A summary row below the grid shows badges for every active channel so you can confirm the configuration at a glance.
Provision a phone number (SMS and voice)
When you enable SMS or Voicemail, a Phone Number panel appears. If no number is provisioned yet, click Provision Phone Number to open the provisioning dialog.
In the dialog you can:
- Enter a preferred US area code (optional). Leave it blank to get any available number.
- Give the number a friendly name, like "Tech Talk Q&A Line."
- Toggle SMS and Voice capabilities independently.
The estimated cost is about $1.15/month for the number, plus per-message and per-minute usage charges from Twilio.
Click Provision Number to purchase and activate the number. Once provisioned, the panel shows the formatted phone number, an "Active" badge, and which capabilities (SMS, Voice) are enabled. You can deactivate the number at any time by clicking Deactivate, which releases it back to Twilio and stops billing.
Each podcast can have one active phone number at a time.
Configure consent and moderation rules
Below the channels panel, the Consent & Privacy section controls how incoming questions are handled.
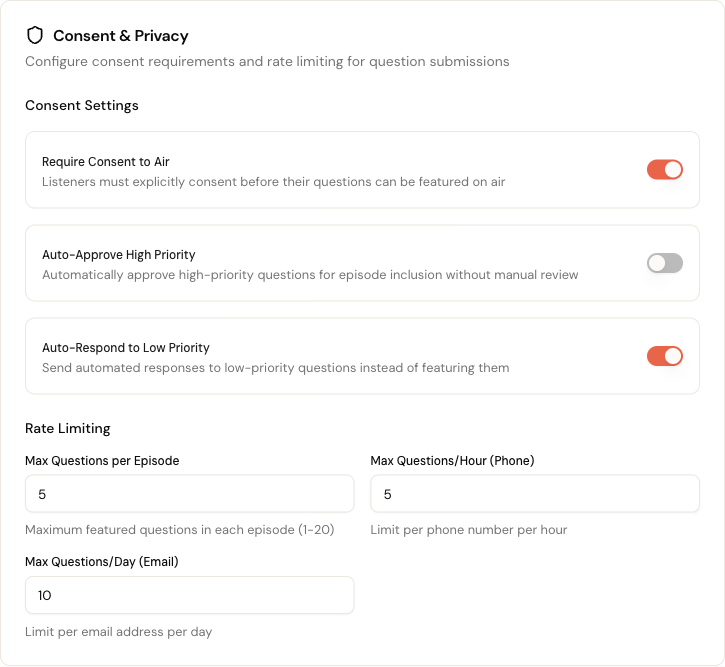
Three toggles are available:
- Require Consent to Air (on by default). When enabled, listeners must explicitly check a consent box before their question can be read on air. The web form includes a "Feature my question on air" checkbox that maps to this setting.
- Auto-Approve High Priority. When enabled, questions that Mato's AI ranks as high priority skip the moderation queue and go straight to the approved list. Turn this on if you want to reduce manual review work. Leave it off if you prefer to approve every question yourself.
- Auto-Respond to Low Priority. When enabled, Mato sends an automated reply to low-priority questions instead of queuing them for episode inclusion. The response templates (covered in the Advanced section below) control what that reply says.
Set rate limits
Rate limits prevent any single sender from flooding your inbox.
| Setting | Default | Range | What it controls |
|---|---|---|---|
| Max per Episode | 5 | 1 to 20 | How many listener questions can be featured in a single episode |
| Max/Hour (Phone) | 5 | 1 to 20 | Questions accepted per phone number per hour |
| Max/Day (Email) | 10 | 1 to 50 | Questions accepted per email address per day |
These fields appear in the advanced drawer at the bottom of the Listener Loop section. Click Advanced (the expandable area) to reveal them.
Configure email notifications
Also inside the advanced drawer, the Email Notifications toggle controls whether your team receives email alerts when new questions arrive.
When notifications are on, two additional controls appear:
Notify. Choose who receives the emails: Owner only, Admins, or All team members.
Delivery Mode. A toggle switches between Batched (notifications grouped every 15 minutes) and Instant (sent as soon as each question arrives). Batched mode reduces inbox noise if you expect a high volume of submissions.
Set up response templates
Still in the advanced drawer, two text fields let you write auto-response messages that Mato sends to submitters:
- Email Auto-Response. Sent to web form and email submissions. Leave it blank to skip the auto-reply. Example: "Thank you for your question! We'll review it for an upcoming episode."
- SMS Auto-Response. Sent to text message submissions. Maximum 320 characters. Example: "Thanks for your question! We'll consider it for an upcoming episode."
These templates are sent only when Auto-Respond to Low Priority is enabled. High and medium priority questions go to the moderation queue without an auto-response.
Share your public Q&A form
When the Web channel is active, two sharing tools appear in the settings panel.
Direct link
A read-only URL field shows your public Q&A form address:
https://heymato.com/qna/<podcast-slug>
Click the copy button to copy the URL to your clipboard, or click the external-link button to open it in a new tab. Share this link in your show notes, social profiles, or email newsletter.
The public form asks for the listener's name, email, their question (10 to 2,000 characters), and a consent checkbox. A Cloudflare Turnstile challenge protects against spam.
Embeddable widget
Below the direct link, an Embed Widget panel shows the HTML snippet you need to place the Q&A form on your own website.
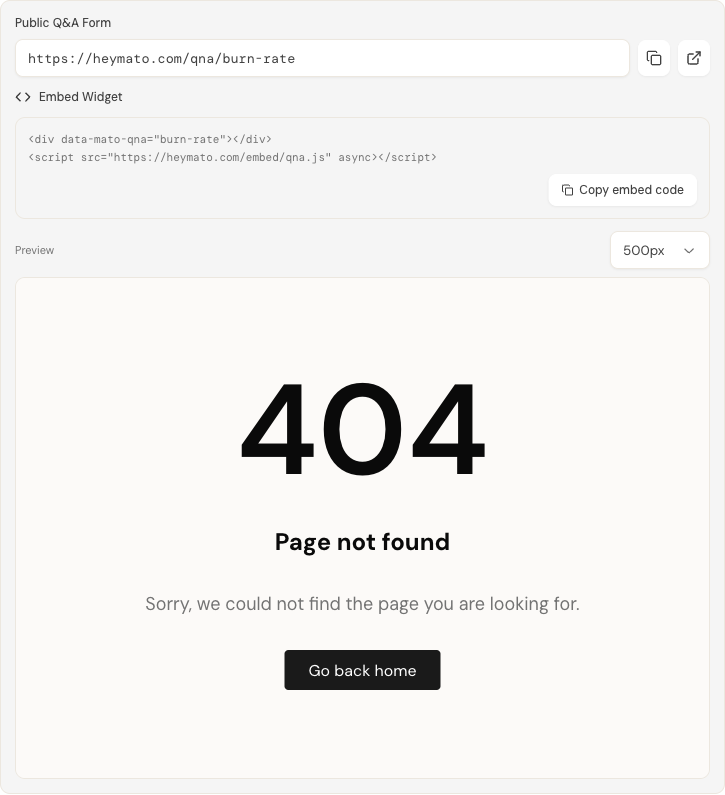
The embed code looks like this:
<div data-mato-qna="your-podcast-slug"></div>
<script src="https://heymato.com/embed/qna.js" async></script>
Click Copy embed code to copy the snippet. Paste it into any page on your site where you want the form to appear. The script loads asynchronously and replaces the placeholder div with an auto-resizing iframe.
A live preview appears below the code block. Use the height dropdown (300px, 500px, or 700px) to test how the form looks at different sizes before embedding it.
Save your Q&A settings
Q&A settings save independently from the rest of the podcast settings page. Click Save Q&A Settings at the bottom of the Listener Loop section (inside the advanced drawer) to persist all your changes. A confirmation toast appears when the save succeeds.
You do not need to use the floating save bar that appears for other settings sections. That bar handles the main podcast record; Q&A has its own save flow.
Review incoming questions
After Q&A is active and questions start arriving, they appear in the Q&A inbox. Navigate to your podcast and click Q&A in the sidebar (or the tab, depending on your layout).
The inbox shows four stat cards at the top: total questions, pending review, approved, and featured. Below the stats, you can filter, search, approve, reject, feature, and archive questions. An archive page stores dismissed questions, and an analytics page tracks submission volume and topic distribution.
For a full walkthrough, see Manage listener questions.
What to do next
- Tell your listeners about the new Q&A channel. Mention the link or phone number in your next episode or newsletter.
- Embed the widget on your podcast's website so visitors can submit questions without leaving your site.
- Check the Q&A inbox regularly to approve questions before your next scheduled episode.