After Mato generates an episode, the script is your chance to shape the conversation before it becomes audio. You can rewrite dialogue, adjust tone, reorder segments, add emotion tags and background sounds, and verify sources. This guide covers every part of the script editor.
Open the script editor
From your episode's detail page, click the Script tab. If the episode has a generated script, Mato opens the full-page editor with the segment sidebar on the left and the editing canvas on the right.
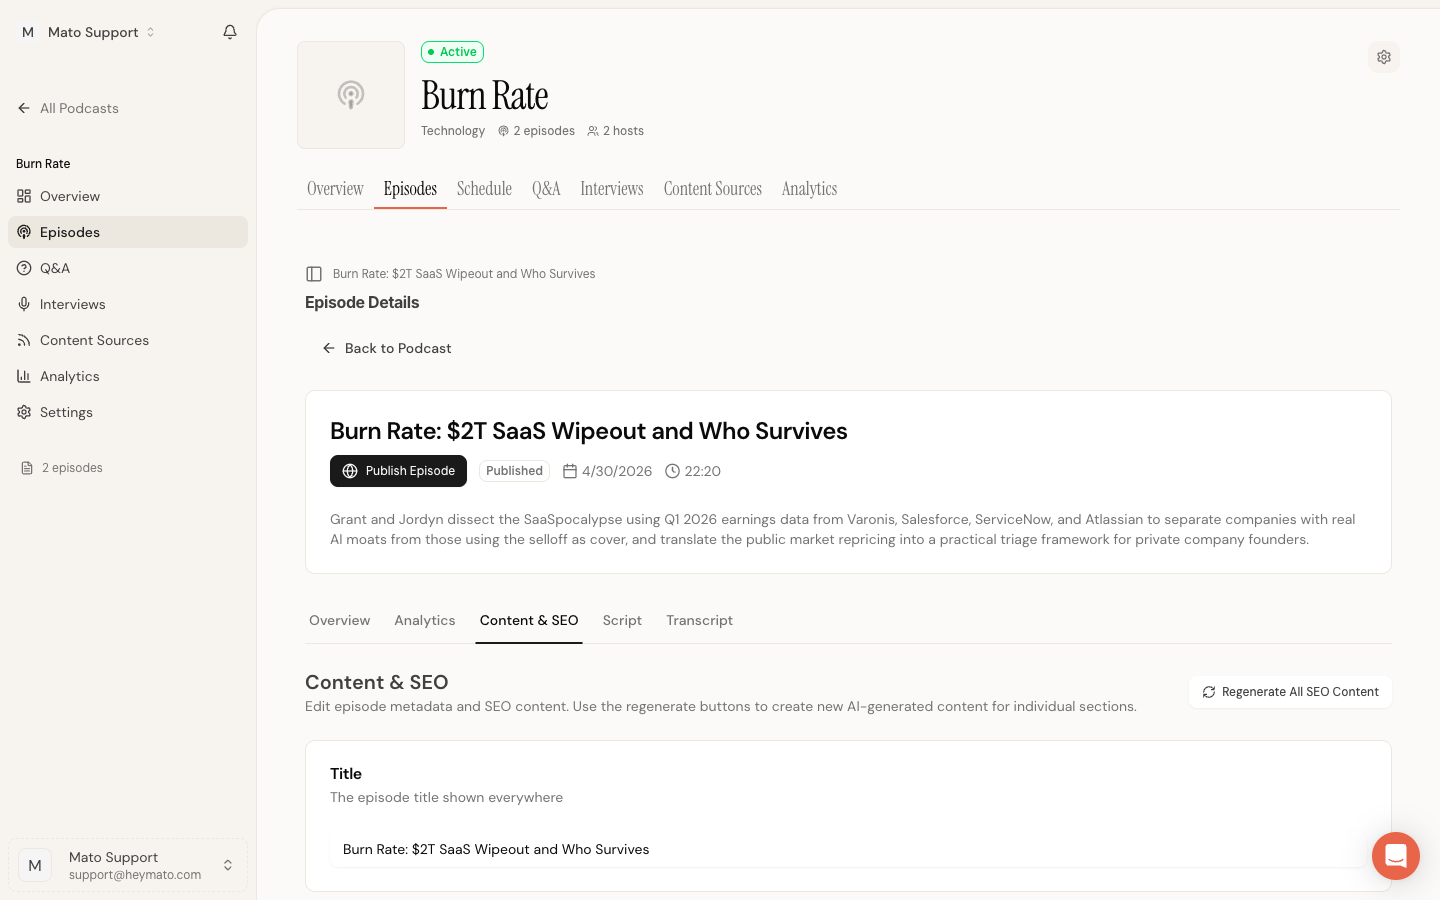
You can also reach the script editor directly from the episode overview by clicking Edit script in the script preview card (when available).
Full-width editor layout
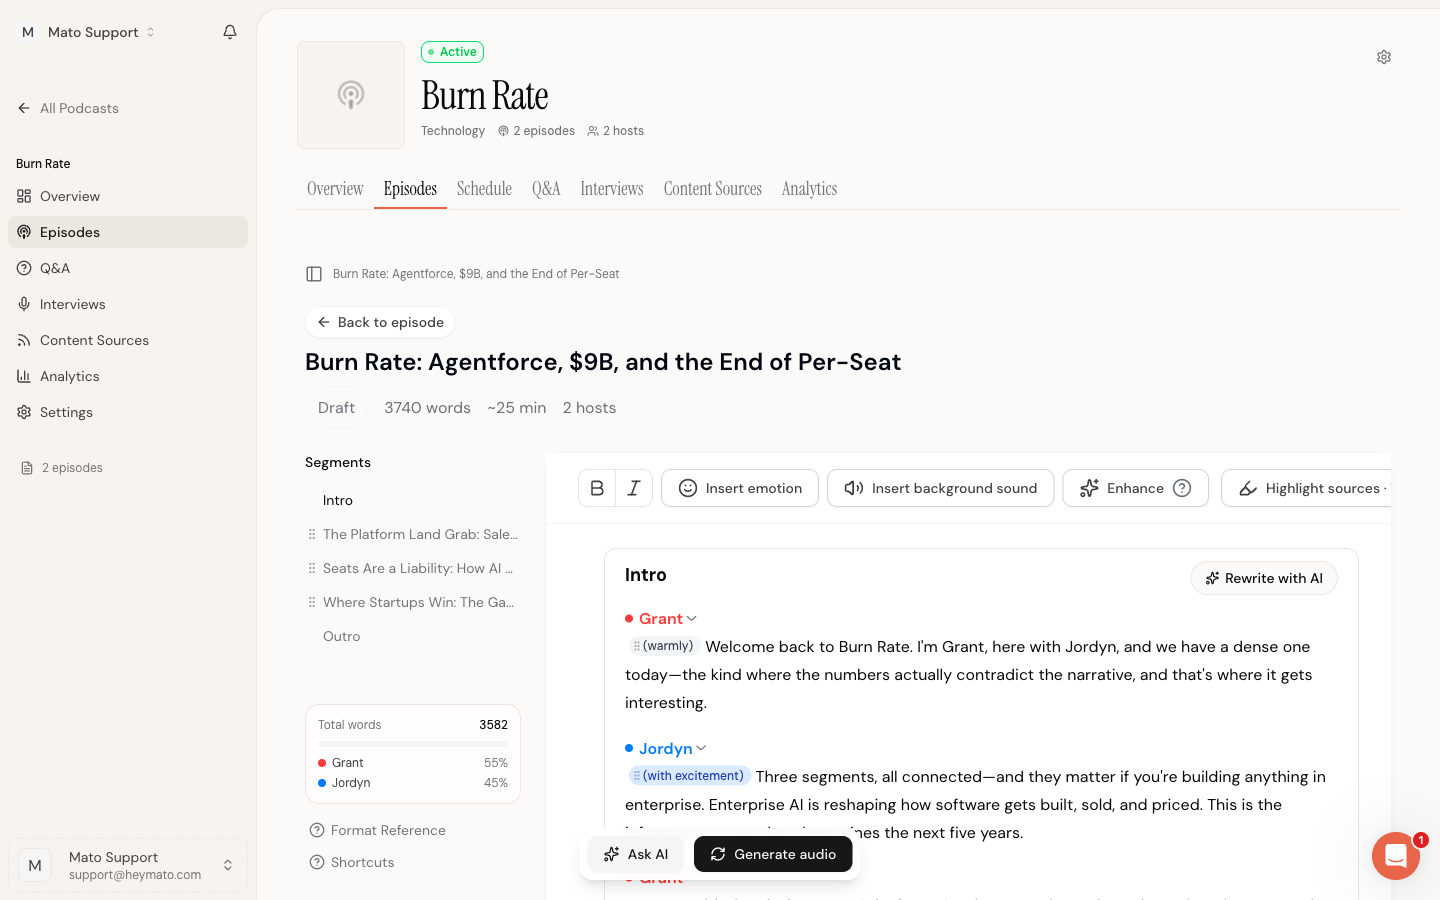
The script editor opens in its own full-width page, outside the normal episode tabs. The episode header, cover art, and tab navigation are hidden so the editor can use the full viewport. At the top left, a Back to episode pill takes you back to the tabbed episode view.
The editor renders its own header with the episode title, script status badge, word count, estimated duration, and host count.
Understand the layout
The editor has four main areas:
- Header bar at the top shows the episode title, script status (Draft, Ready for Review, Approved, Generating Audio, Completed), total word count, estimated duration, and host count.
- Segment sidebar on the left lists every segment in order. It also displays total word count and speaker balance at the bottom.
- Toolbar sits below the header inside the editor card. It holds formatting buttons, insertion tools, the Enhance button, and the source highlights toggle.
- Editing canvas is the main area where you read and edit the script. A floating action bar pins to the bottom of the screen with Ask AI and Generate audio buttons.
On smaller screens, the sidebar collapses into a slide-out drawer. Tap the segments icon in the toolbar to open it.
Navigate with the segment sidebar
Each script is divided into segments: an Intro, one or more topic segments, and an Outro. The sidebar lists them all.
Click any segment name to jump directly to it in the editor. The editor scrolls to that segment and briefly highlights it.
Reorder segments
Topic segments can be dragged to a new position in the sidebar. Grab the drag handle (the dotted grip icon to the left of the segment name) and drop the segment where you want it. The Intro and Outro segments are locked in place.
You can also reorder with the keyboard: place your cursor inside a segment, then press Alt+Shift+Up or Alt+Shift+Down to move it.
Insert a new section
You can add a blank discussion section between any two existing sections. There are two ways to do this:
- In the sidebar, hover between two segment rows. A dashed line with a + icon appears. Click it to insert a new section at that position.
- In the editor canvas, hover between two section cards. The same dashed-line insert button appears between the cards.
The new section is created with the name "New Section" and empty dialogue blocks for each host. The editor scrolls to it and places your cursor inside.
Intro and outro boundaries are protected. You cannot insert a section before the intro or after the outro.
Delete a section
Unlocked middle sections can be deleted. There are two places to do this:
- In the editor canvas, click the trash icon button next to the Rewrite with AI button in the section header.
- In the sidebar, click the three-dot menu on the section row and select Delete section.
After deleting, a toast confirms the action and shows the undo shortcut (Ctrl+Z / Cmd+Z). Intro, outro, and locked sections cannot be deleted.
Rename a section title
Click any unlocked section title in the editor canvas to edit it inline. Type a new name, then press Enter to save or Escape to cancel. Clicking away from the title field also saves the change.
Intro, outro, and locked sections display a static title that cannot be edited.
Word count and speaker balance
At the bottom of the sidebar, a stats card shows:
- Total words across the entire script
- Speaker balance as a color-coded bar with percentage breakdowns per host
Use speaker balance to check whether one host dominates the conversation. If Grant has 70% and Jordyn has 30%, you may want to extend some of Jordyn's dialogue or trim Grant's.
Changed segment indicators
If you have previously generated audio and then edited the script, changed segments show an amber dot next to their name in the sidebar. This tells you which segments will need new audio.
Write a blank section with AI
When a discussion section has no dialogue (for example, after inserting a new section), the editor shows a dashed box labeled Write this section with AI. Type a short description of what the section should cover in the textarea, then click Write section or press Enter. Mato generates the dialogue and fills in the section.
This prompt only appears in empty discussion sections. Once the section has content, it disappears and you can use the standard Rewrite with AI controls instead.
Edit dialogue
The script is structured as a series of dialogue blocks. Each block starts with a speaker name (shown in the host's color) followed by their dialogue text.
Change the speaker
Click the speaker name above a dialogue block. A dropdown appears with all available hosts. Select a different host to reassign that block. The host's color updates immediately.
Edit text
Click anywhere in the dialogue text and type. The editor supports standard text editing: select, copy, paste, undo (Ctrl+Z / Cmd+Z), and redo (Ctrl+Shift+Z / Cmd+Shift+Z).
Use the Bold and Italic buttons in the toolbar, or the standard keyboard shortcuts (Ctrl+B / Cmd+B for bold, Ctrl+I / Cmd+I for italic), to add emphasis. Bold and italic text affect how the AI voices deliver the line during audio rendering.
Add emotion tags
Emotion tags tell the text-to-speech engine how a host should deliver a line. They appear as small color-coded chips inline with the dialogue text, like (warmly) or (with excitement).
To insert an emotion tag, place your cursor where you want the tag and click Insert emotion in the toolbar. Start typing the emotion name (for example, "laughing" or "excited") and select from the suggestion list. Supported emotions include laughing, chuckling, excited, surprised, whispering, sighs, and more.
To change an existing emotion tag, click the chip. A searchable dropdown opens with all available emotions. Pick a new one and the chip updates in place.
Emotion tags are color-coded by category: warm amber for laughter, blue for excitement, purple for vocal effects, and gray for uncategorized.
Add background sounds
Background sounds are short reactions from the non-speaking host (like "mhm", "yeah", "right", "laughs") that make the conversation feel natural. They appear as inline chips showing the host name and the sound.
Click Insert background sound in the toolbar to add one. A dropdown opens with preset sounds: mhm, yeah, right, uh-huh, wow, hmm, gasps, and laughs. You can also type a custom sound name.
Each background sound chip lets you:
- Click the chip text to change the sound
- Click Select host in the dropdown to reassign the reaction to a different host
- Add a custom sound by clicking Custom sound and typing a name
- Delete the chip with the Delete button at the bottom of the dropdown
Use the AI toolbar
When you select text in the editor, a floating AI toolbar appears above the selection. It offers quick actions without leaving the editing flow.
Improve
Click Improve to open a dropdown with five options:
- Adjust tone opens a submenu with presets (professional, casual, energetic, and others)
- Extend makes the selected text longer
- Reduce shortens the selected text
- Simplify rewrites the selection in plainer language
- Ask AI opens a free-form prompt where you can describe exactly what you want
After the AI generates a suggestion, you can accept it, discard it, retry, or type a follow-up prompt to refine the result.
Emphasize
Click Emphasize to make the selected text stand out in the audio delivery.
Add emotions and background noise
The toolbar also has buttons to insert emotion tags and background sounds at the selection point.
Rewrite a segment with AI
Each segment header includes a Rewrite with AI button. Click it to open a prompt panel at the bottom of the editor. Describe what you want changed (for example, "make the transition smoother" or "add more specific data points"), and Mato rewrites the segment.
The rewrite appears as a diff with highlighted changes. Review each change individually: accept, reject, step through with the navigation arrows, or accept/reject all at once. If the result is close but not right, type a follow-up instruction to refine it further.
Enhance the full script
The Enhance button in the toolbar runs AI enhancement across the entire script. Enhancement adds natural emotion tags, background sounds, and other production markers based on your podcast's content style. The editor becomes read-only while enhancement runs (typically under a minute). Once complete, the editor refreshes with the enhanced script.
Highlight sources
When Mato generates a script from articles or other source material, it tracks which claims come from which sources. Click Highlight sources in the toolbar to toggle source annotations on.
Highlighted text is color-coded:
- Green (solid underline) means the claim is grounded in an uploaded source article
- Amber (dotted underline) means the claim was found via web search
- Blue (dotted underline) means the claim came from a URL you included in the prompt
Click any highlighted span to open a popover showing the source article title, publisher, and a link to the original. This helps you verify facts before approving the script.
The toggle state persists across sessions (stored in your browser). Source highlights are available regardless of script status.
Save and approve
The editor has two save paths, plus an auto-save safety net.
Save draft
Click Save draft in the toolbar to save your changes without changing the script's status. A blue dot appears on the save icon when you have unsaved changes. After saving, the toolbar shows a timestamp ("Saved 5s ago", "Saved 2m ago").
Auto-save
The editor auto-saves your work five seconds after your last edit. You do not need to click Save manually to avoid losing changes, but explicit saves are still useful before closing the tab.
Approve and generate audio
When the script status is "Ready for Review", the approve button reads Approve & generate audio. Clicking it saves the script, sets the status to Approved, and queues an audio generation job. Mato redirects you back to the episode page where you can track generation progress.
If the script has already been approved and you have made additional edits, the button reads Generate audio instead. It works the same way: save, then regenerate audio from the updated script.
Approval is blocked if the script has validation errors (shown as a red banner above the editor). Fix the errors first, then approve.
Script status workflow
Scripts move through these statuses:
- Draft after initial generation. You can edit freely.
- Ready for Review when the script is staged for review. You can still edit.
- Approved after you click approve. Audio generation starts automatically.
- Generating Audio while the audio job runs. The editor becomes read-only.
- Completed when audio is finished. You can still open the editor to read the script and make changes.
To update a completed episode, edit the script and click Generate audio in the floating action bar. Mato re-renders only the segments you changed.
Keyboard shortcuts
| Action | Shortcut |
|---|---|
| Bold | Ctrl+B / Cmd+B |
| Italic | Ctrl+I / Cmd+I |
| Undo | Ctrl+Z / Cmd+Z |
| Redo | Ctrl+Shift+Z / Cmd+Shift+Z |
| Move segment up | Alt+Shift+Up |
| Move segment down | Alt+Shift+Down |