Every episode in Mato starts as a draft. Publishing sends the episode through Mato Distribution so the show page, RSS feed, CDN audio, and analytics all switch over together. This guide covers the full flow from draft to distributed, plus how to take an episode back down.
Episode lifecycle states
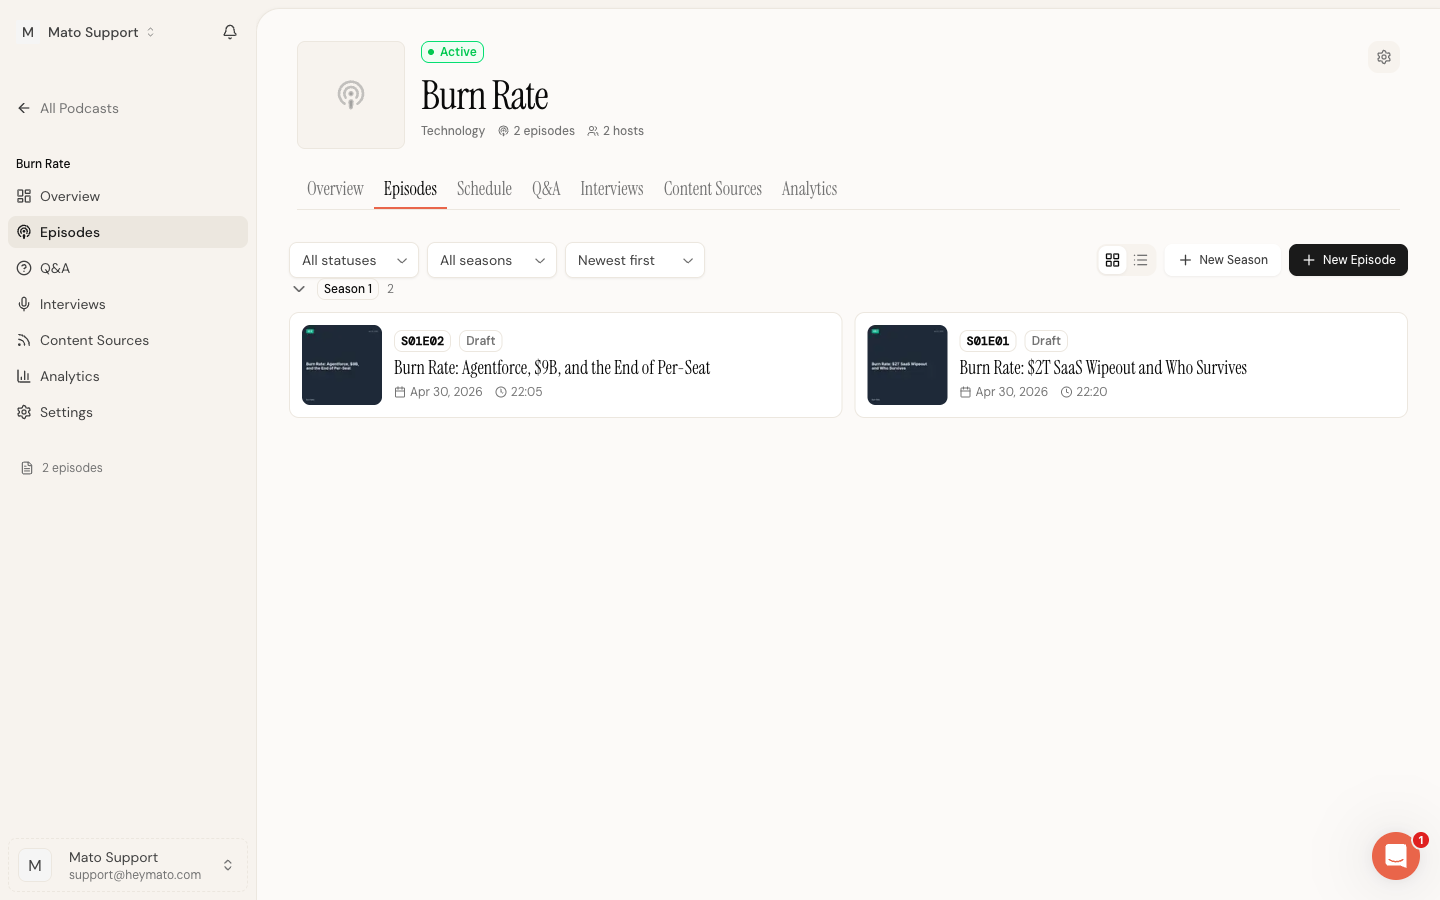
Mato shows four publishing labels across the episode page:
| State | Badge color | What it means |
|---|---|---|
| Draft | Gray | The episode is private. Only your team can see it inside the workspace. |
| Publishing | Yellow (pulsing) | Mato Distribution is running. The episode is still private until the pipeline finishes. |
| Published | Green | The public link/action is available after Mato finishes publishing. |
| Distributed | Green | The lifecycle is complete. The episode is live on your show page, RSS feed, and CDN. Listeners can play it everywhere. |
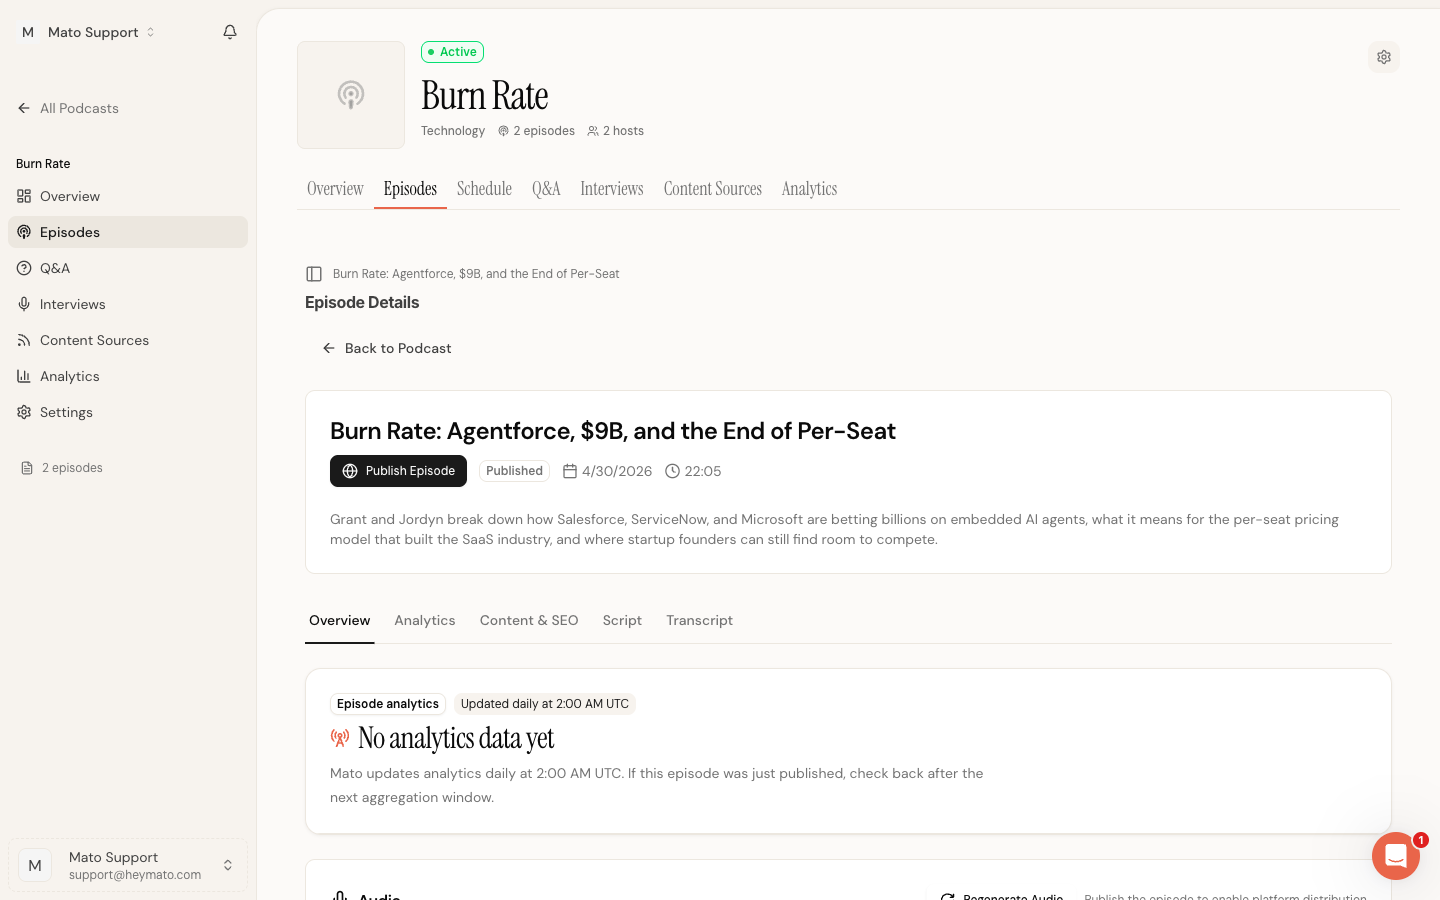
The main lifecycle badge appears next to the episode title on the detail page. Episode cards also show lifecycle labels, but the detail page is the source of truth for the publish action and progress state.
Before you publish
Three things must be true before a manual publish can complete:
- Audio generation is complete. The Audio section should show a playable file and the audio badge should read "Generated."
- An audio file exists. If the player section shows "No audio available yet," go back and generate or regenerate audio first.
- Your show is synced to Mato Distribution. Open podcast settings, go to the Publishing section, and click Sync Now before manually publishing a new show.
The Publish button stays disabled until the episode has audio. If the show has not been synced yet, Mato shows an error and asks you to save settings first. Auto-publish jobs can sync a show automatically during the background publish flow, but the manual Publish button expects the show record to already exist.
Publish your episode
Open the episode detail page and look at the header card. When the episode is in draft, you will see a Publish Episode button with a globe icon.
- Click Publish Episode.
- A confirmation dialog appears. It explains that publishing will make the episode visible to listeners.
- Click Publish Episode again in the dialog to confirm.
Mato queues the episode for Mato Distribution. A progress modal opens while the pipeline runs. The pipeline uploads audio to the CDN, creates or updates the feed episode, regenerates your RSS feed, and then marks the episode as publicly visible. The episode only becomes live after every step completes successfully.
While the pipeline is running, the header shows a yellow "Publishing" indicator. Once the pipeline finishes, the badge changes to "Distributed" and listeners can access the episode.
If the pipeline fails at any step, the episode stays in draft and shows an error message. You can retry by clicking Publish Episode again. If the problem persists, check your Mato Distribution sync status in podcast settings under the Publishing tab.
If you click Publish Episode while a publish is already in progress, Mato shows the existing progress modal instead of starting a duplicate job.
How Mato Distribution runs
Publishing an episode always routes through Mato Distribution. When you click Publish Episode (see above), the distribution pipeline runs automatically: CDN upload, feed episode creation or update, RSS feed regeneration, and public status update. There is no separate "Distribute to Mato" step.
If your podcast has auto-publish enabled, Mato queues distribution automatically after episode generation finishes. That background job can sync the show first if needed, so feed playback and analytics stay in sync without manual action.
The right-side Distribution panel shows each configured destination and its current state. Mato appears as pending while upload/feed work is running, live after the CDN audio and feed entry are ready, or failed when the job needs a retry.
When distribution completes, the lifecycle badge changes to "Distributed."
Public links and embeds
Public episode links and embed controls only appear after Mato Distribution finishes. While an episode is in draft or publishing, the Audio section lets you preview the workspace audio, but public playback stays locked.

Unpublish an episode
You can return a published or distributed episode to draft at any time.
- On the episode detail page, find the lifecycle badge area in the header. Next to the green public status area, there is an Unpublish button with an eye-off icon.
- Click Unpublish. A confirmation dialog appears.
- If the episode is distributed, the dialog warns that unpublishing will also attempt to remove it from external platforms.
- Click Unpublish to confirm.
Mato sets the lifecycle back to draft and clears the Mato distribution status. If the episode was published to Mato Distribution, Mato sends an unpublish request and regenerates the RSS feed to remove the episode. This Mato-side removal is best-effort. If it fails, the episode still returns to draft locally, and you may need to manually remove it from external platforms.
Unpublishing does not delete the episode, its audio, or its script. Everything stays in your workspace. You can republish at any time by clicking Publish Episode again.
Troubleshooting
If the Publish button is disabled, check that audio generation completed. Open the Audio section and confirm you see a working player.
If a configured destination shows a failed status, open podcast settings and verify the destination credentials under the Publishing section before retrying.
If the lifecycle badge shows an unexpected state, refresh the page. Background jobs update the status asynchronously, so the badge may take a few seconds to reflect the latest state after a publish or distribute action.