Mato's creation wizard builds a complete podcast from a short description. You describe what you want, the AI generates a name, hosts, schedule, and configuration, and you review everything before saving. The whole process takes about two minutes.
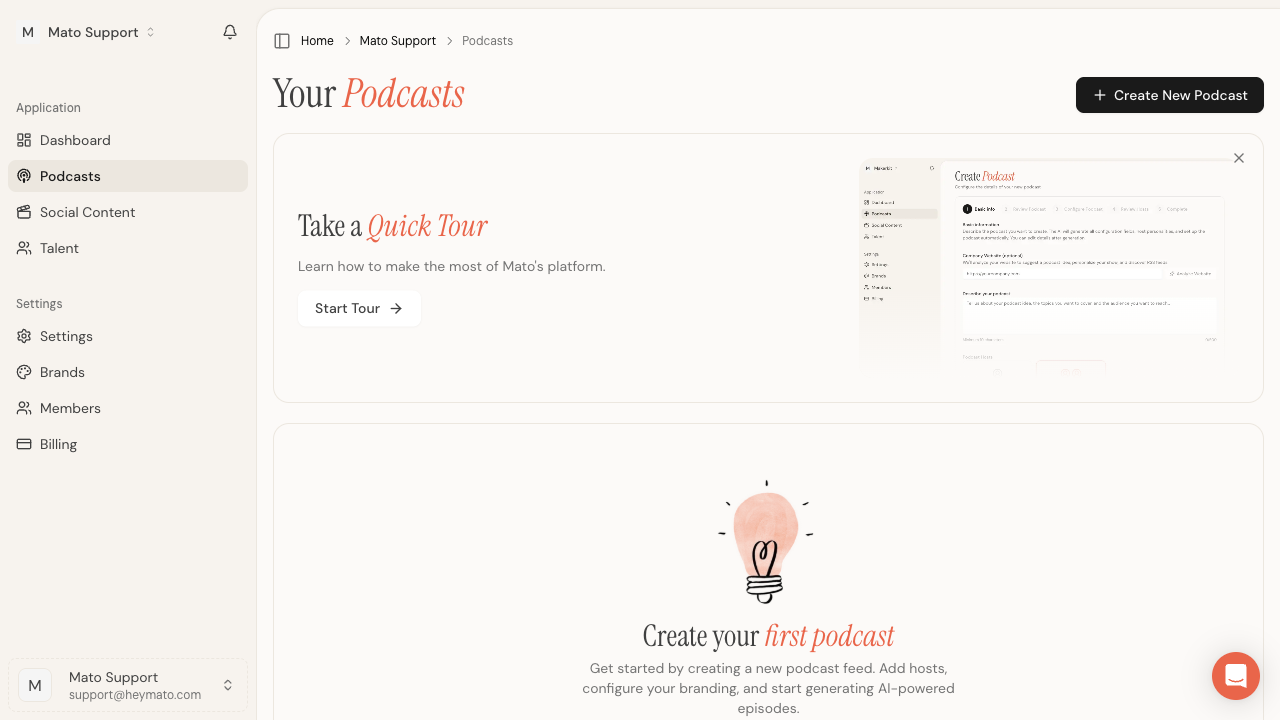
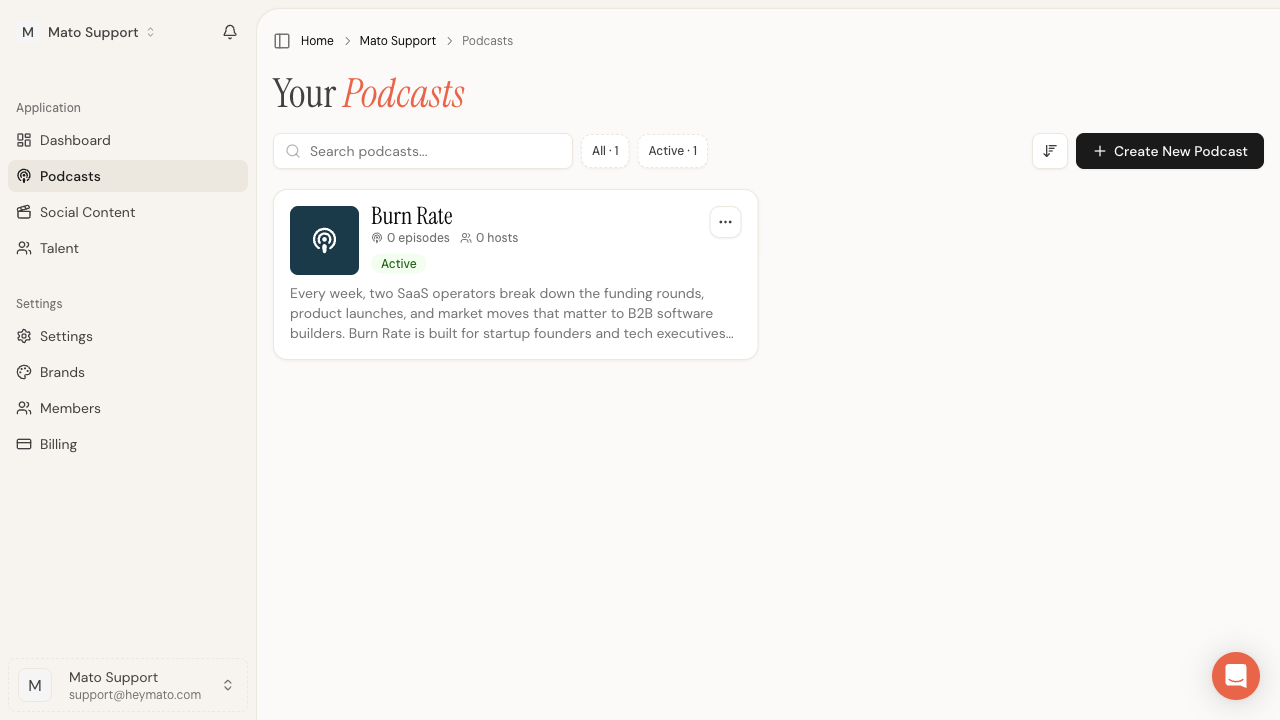
To start, open your team workspace and click Podcasts in the sidebar. If you have no podcasts yet, click the Create New Podcast button in the top-right corner or in the empty-state card.
Step 1: Describe your podcast
The first screen asks you to describe the show you want to create. The AI uses this description to generate everything else.
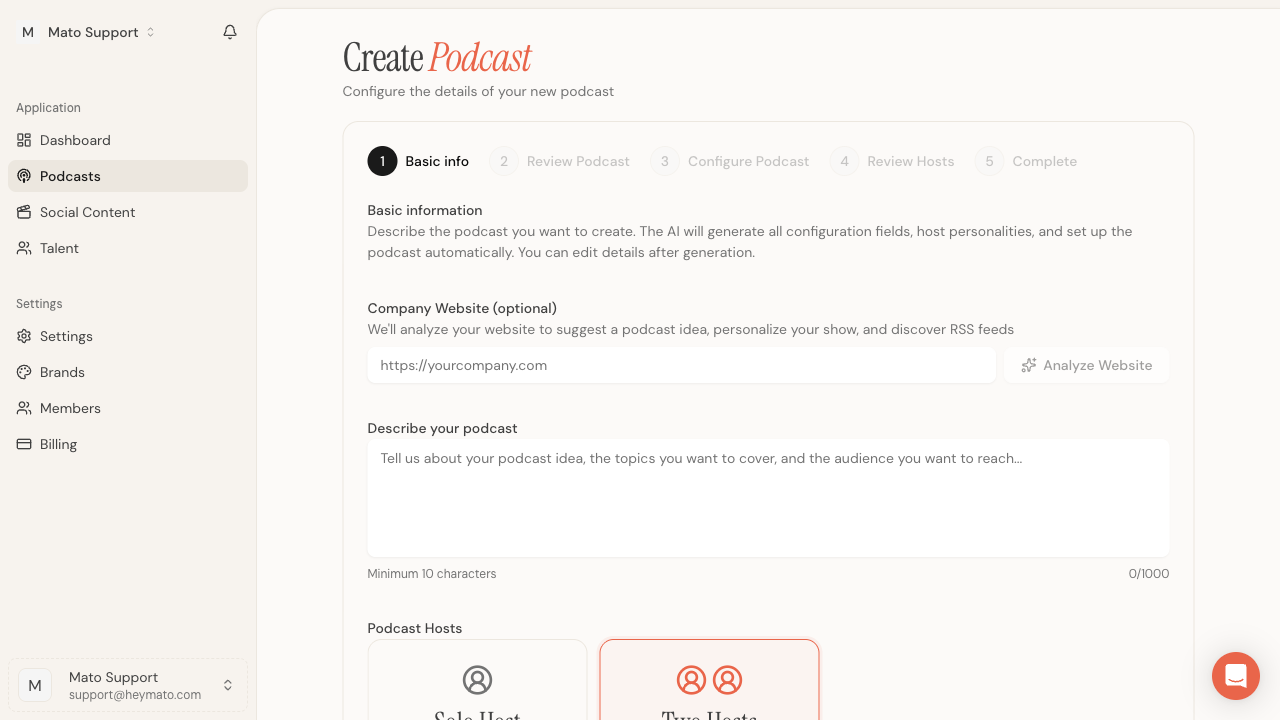
Company Website is optional. If you enter a URL and click Analyze Website, Mato scans the site to suggest a podcast concept, match your brand, and discover RSS feeds you can use as content sources later.
Describe your podcast is the only required field. Write a few sentences about the topics you want to cover, who the audience is, and what makes the show different. The more specific you are, the better the AI's output. Minimum 10 characters, maximum 1,000.
Below the description, choose between Solo Host (one voice) and Two Hosts (a conversation between two speakers). Two Hosts is selected by default.
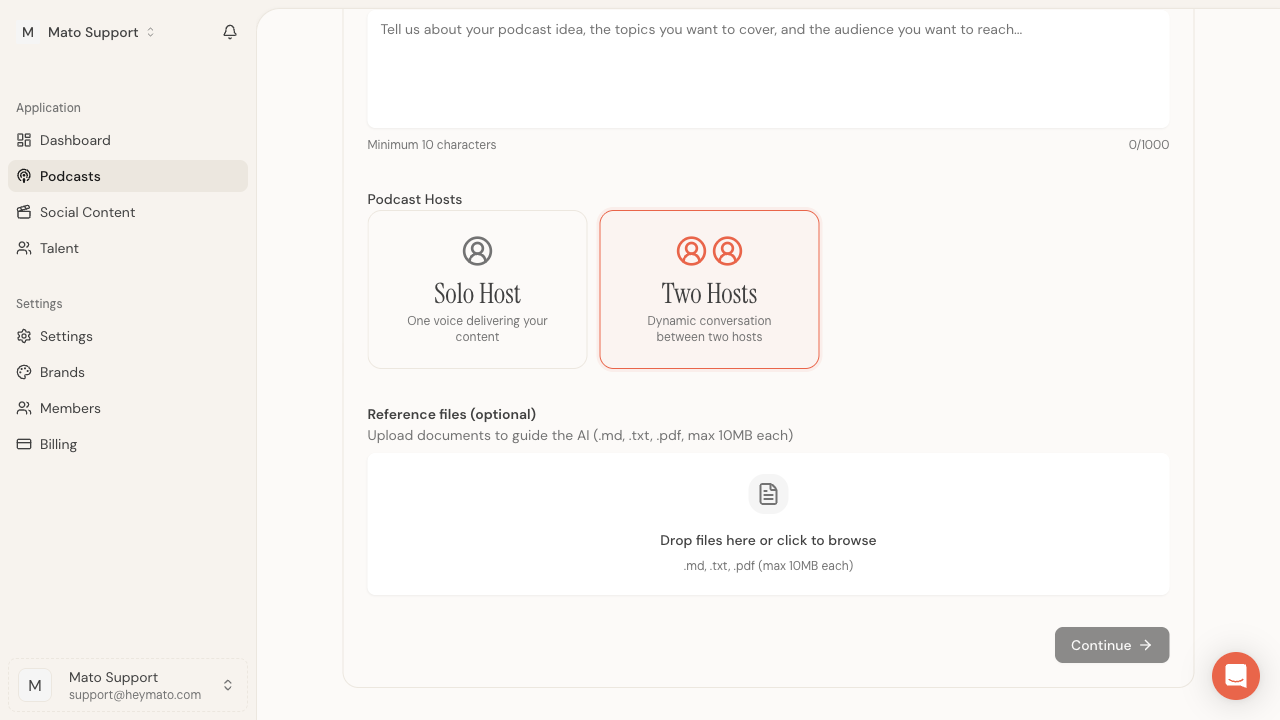
Reference files are optional. You can upload .md, .txt, or .pdf documents (up to 10 MB each) to give the AI more context about your brand, style, or subject matter.
When the description field has at least 10 characters, the Continue button activates.
AI generation
After you click Continue, Mato generates your podcast configuration. A loading screen appears while the AI works. This usually takes 30 to 60 seconds.
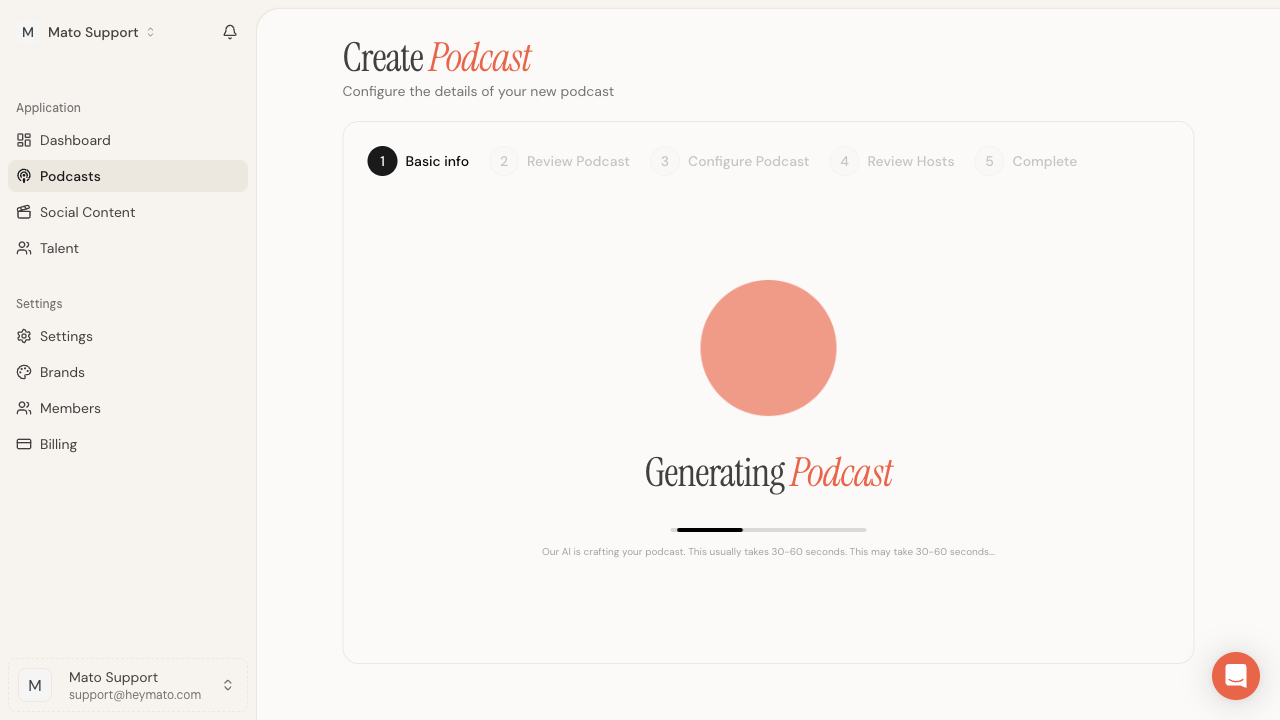
When generation finishes, the wizard moves to Step 2 automatically. You do not need to click anything.
Step 2: Review your podcast
This step shows what the AI generated. Everything is editable.
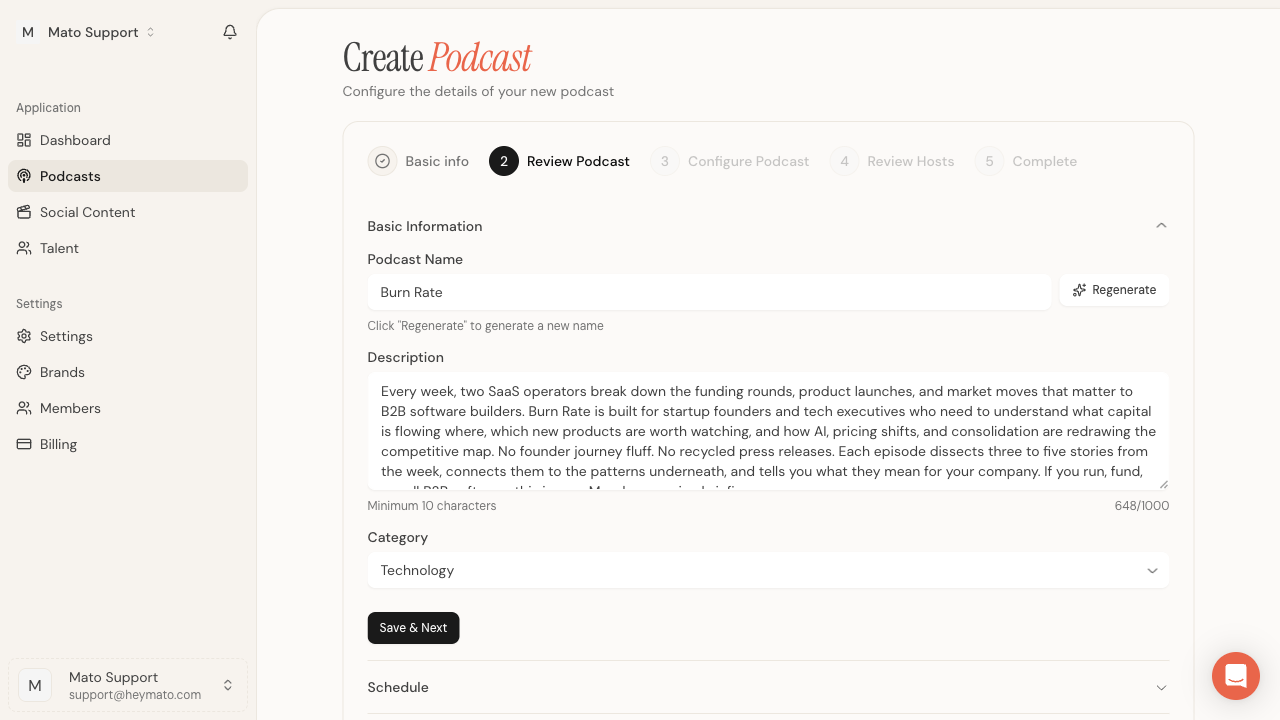
The Basic Information section contains:
- Podcast Name with a Regenerate button if you want a different suggestion
- Description expanded from your original input
- Category dropdown (Business, Technology, Education, and others)
Click Save & Next within this section to lock in your changes, or scroll down to review the other sections first.
The Schedule section controls automatic episode generation.
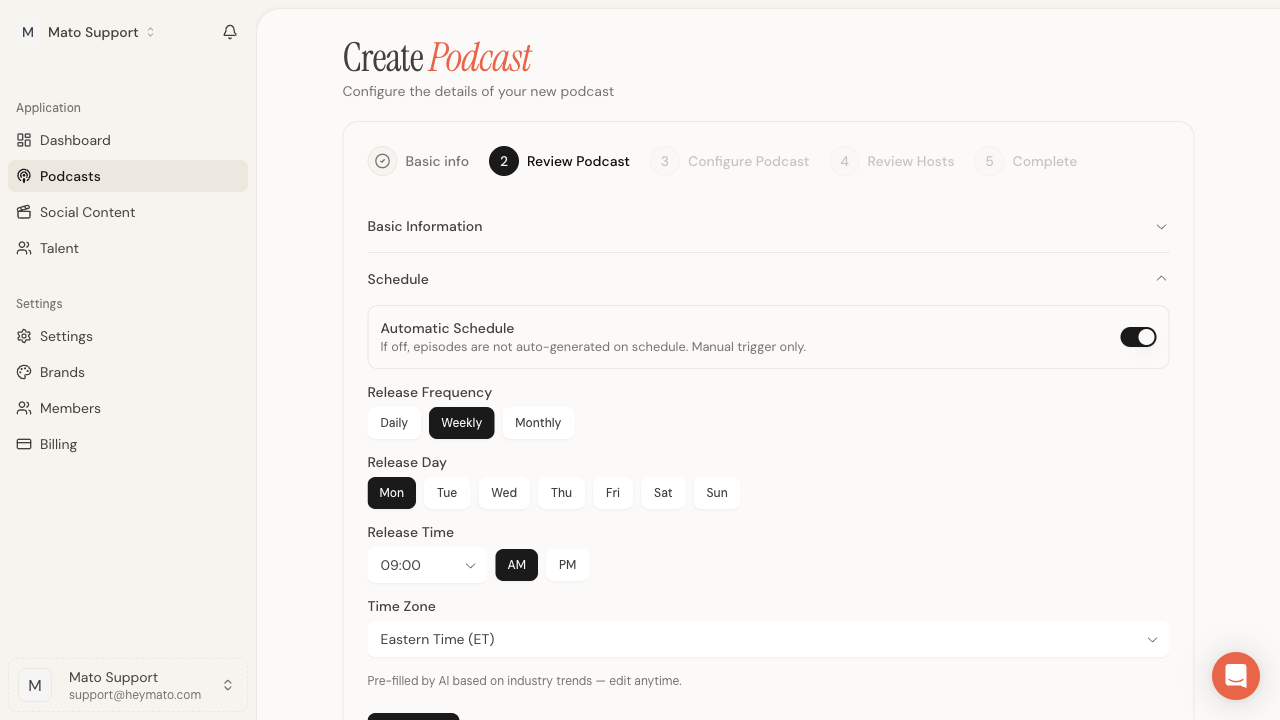
- Automatic Schedule toggle turns scheduled generation on or off. When off, you trigger episodes manually.
- Release Frequency sets the cadence: Daily, Weekly, or Monthly.
- Release Day and Release Time control when episodes go live.
- Time Zone defaults to Eastern Time but can be changed.
These values are pre-filled by the AI based on industry patterns. You can change any of them now or later in podcast settings.
The Audio Settings section lets you upload intro, outro, and transition audio files (.mp3, .wav, or .m4a, up to 50 MB each). All three are optional. You can add them later from the podcast settings page. If you upload a file, wait for the upload to finish before moving on. The Continue button stays disabled while any audio file is still uploading.
Click Continue to move to Step 3.
Step 3: Configure your podcast
This step controls how episodes are structured and delivered.
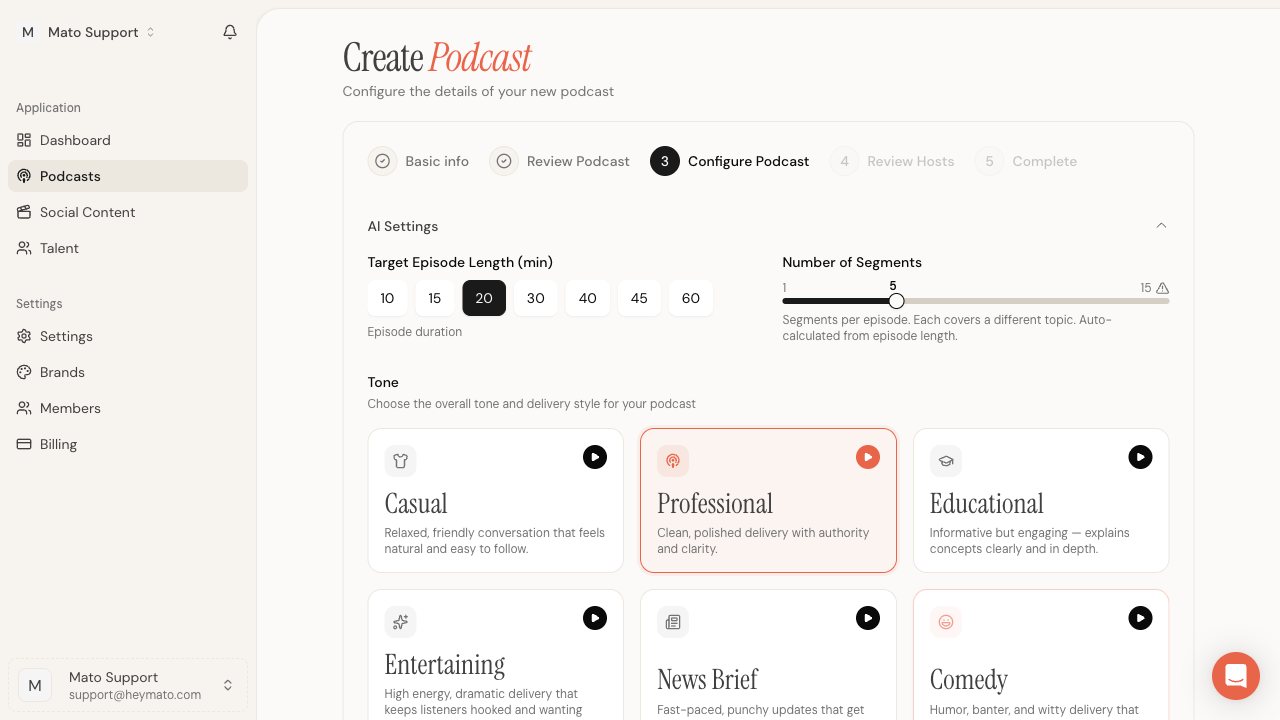
Target Episode Length sets the duration in minutes. Options range from 10 to 60 minutes. The default is 20.
Number of Segments controls how many distinct topics each episode covers. The slider goes from 1 to 15, and the value auto-adjusts based on episode length. Each segment covers a different topic or angle.
Tone sets the overall delivery style. Six options are available, each with an audio preview button:
- Casual, Professional, Educational, Entertaining, News Brief, and Comedy
Pick the one closest to what you want. You can change it later in podcast settings.
Two additional sections, Content Settings and Podcast Pipeline Configuration, are available as collapsible panels for advanced users. The defaults work well for most new podcasts.
Click Continue to move to Step 4.
Step 4: Review hosts
The final step shows the AI-generated host profiles.
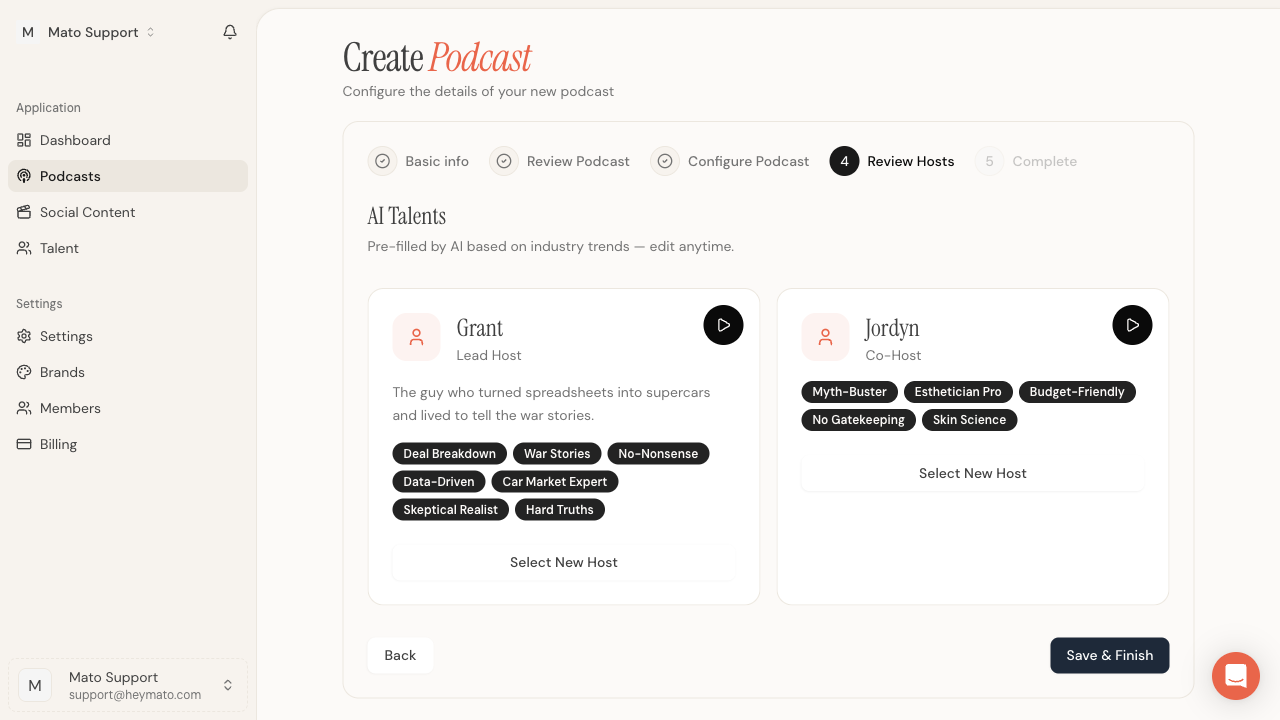
Each host card shows:
- The host's name and role (Lead Host or Co-Host)
- A short personality description
- Tags that describe the host's style and expertise
- A play button to preview the host's voice
If you want a different host, click Select New Host on either card to browse the talent directory and pick a replacement.
When you are satisfied with both hosts, click Save & Finish. Mato runs a final save that takes 30 to 60 seconds while it puts everything together. When it finishes, you land on your podcasts list with the new show ready to go.
What to do next
Your podcast is set up, but it does not have content sources or episodes yet. Here is the recommended order:
- Add content sources. Connect RSS feeds, paste article URLs, or upload documents from the podcast settings page.
- Generate your first episode. Open the podcast, click generate, review the script, and render audio.
Both steps have their own guides in the Help Center.