Live AI interviews let a guest have a real conversation with one of your AI hosts. You create the invite, Mato sends the guest a magic link, and the AI host handles the rest. This guide covers the full setup: creating the invite, preparing questions, sending the email, and managing invites after they go out.
Open the interview wizard
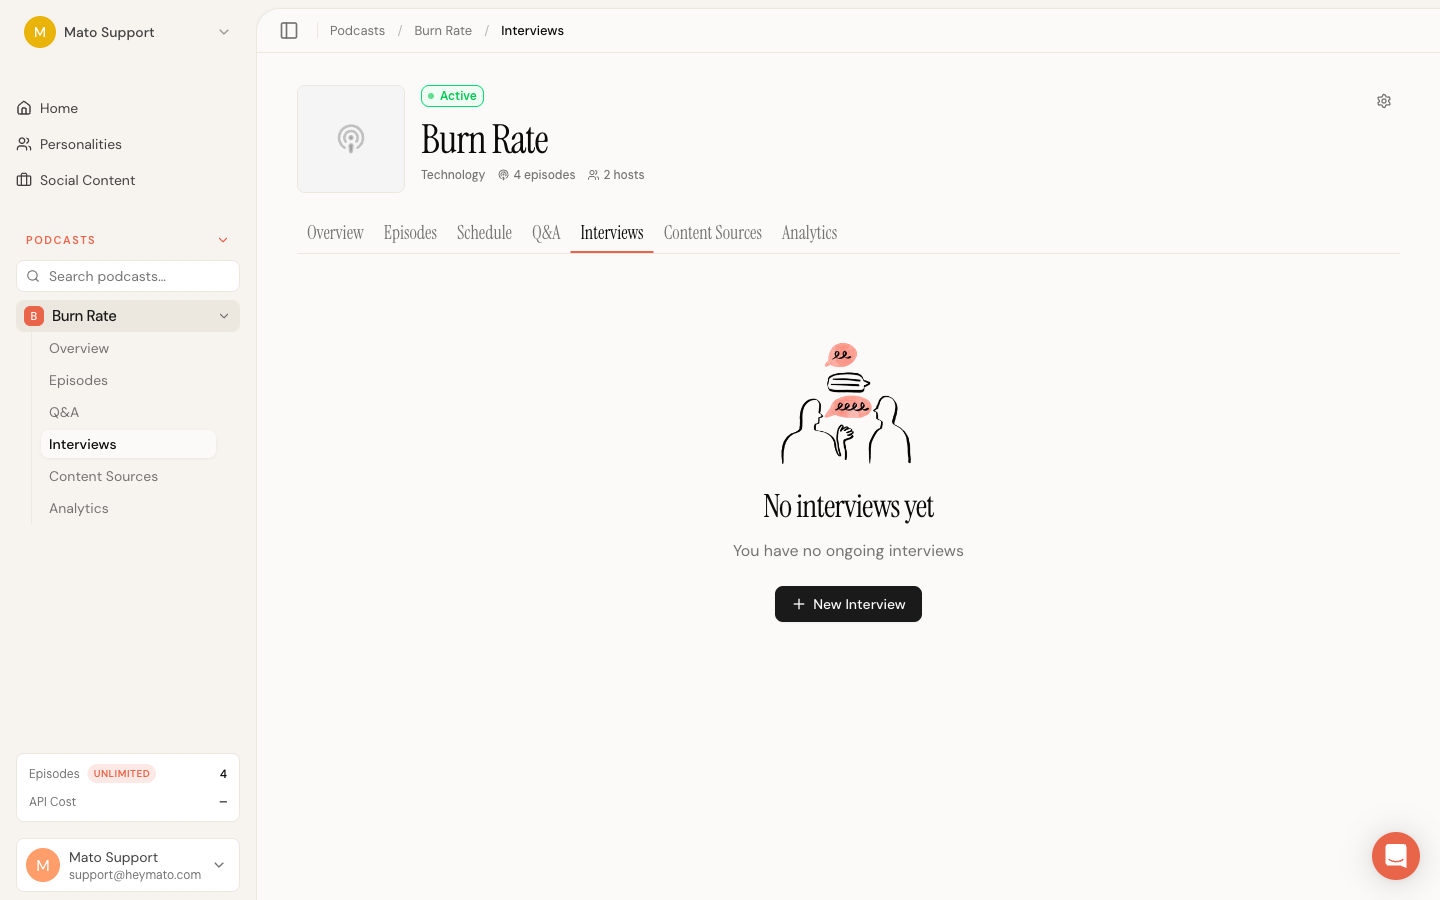
Navigate to your podcast, then click the Interviews tab. If you have no interviews yet, the page shows an empty state with a single button. If you already have interviews listed, click the + New interview button in the top-right corner.
Both paths open the same four-step invite wizard as a dialog.
Step 1: Find your guest
The wizard opens on a screen asking for the guest's LinkedIn profile URL. Paste the URL and click Look up profile. Mato scrapes the guest's public LinkedIn data (name, photo, role, company, work history, bio) and uses it to personalize the invite email and prepare the AI host for the conversation.
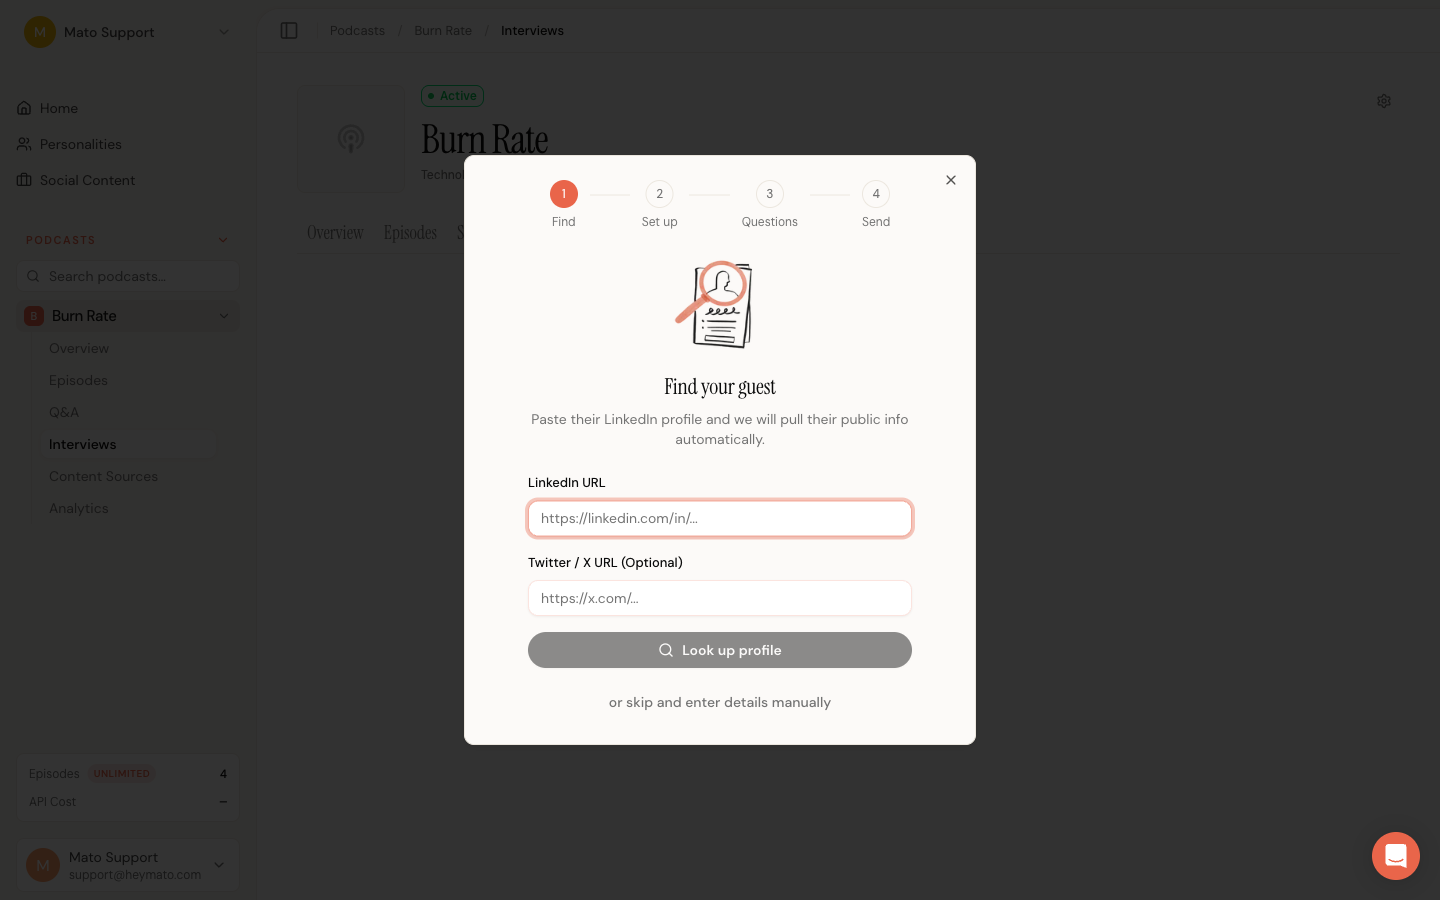
You can also enter a Twitter/X profile URL. This is optional but gives the AI host additional context.
If you do not have a LinkedIn URL, click Skip, enter details manually at the bottom. The wizard advances to step 2 with empty fields you can fill in yourself.
While Mato scrapes the profile, the dialog expands and shows a skeleton card on the left with a loading indicator. The form fields for step 2 fade in on the right so you can start filling them while the scrape finishes.
Step 2: Set up the interview
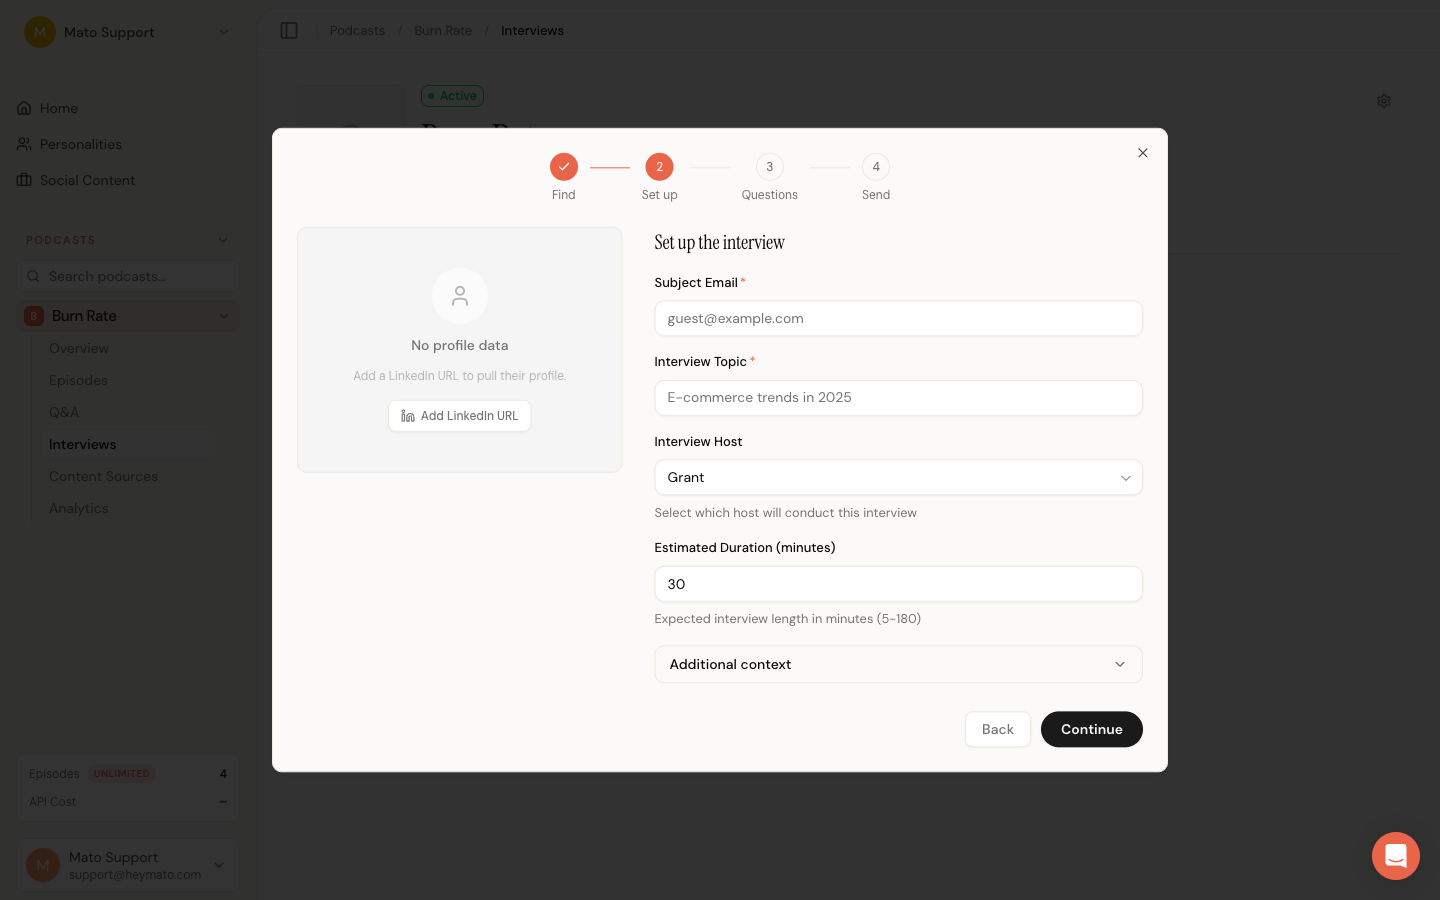
This step has two columns. The left column shows a profile card with the scraped guest photo, name, role, and company. The right column has the interview configuration fields.
Required fields
- Guest email: The email address where Mato sends the invite. This is also where the guest receives notifications about the published episode.
- Interview topic: A short description of what the conversation should cover. The AI host uses this to guide the interview.
Optional fields
- Interview host: Pick which AI host conducts the interview. The dropdown lists all hosts assigned to this podcast and defaults to the first one. A "None (use default)" option is also available, which lets Mato assign the podcast's primary host.
- Duration: Expected interview length in minutes. Defaults to 30. The AI host uses this to pace the conversation (range: 5 to 180 minutes).
Additional context
Click the Additional context section to expand more fields:
- Interview purpose: Explain why this interview matters or what angle to focus on. This goes into the AI host's prompt.
- Guest name: Override the scraped name, or enter it manually if you skipped step 1.
- LinkedIn About: The guest's LinkedIn "About" section. Pre-filled from the scrape, but you can edit it.
- Background notes: Free-text notes about the guest that should inform the conversation. Only visible to the AI host, never shown to the guest.
- Guest resume: Upload a PDF (up to 20 MB). Mato extracts the text and feeds it to the AI host as context.
Click Continue to move to step 3.
Step 3: Prepare questions
After you click Continue, Mato generates a set of suggested interview questions using AI. The questions are based on the guest's profile, the interview topic, any purpose you provided, and the host's personality.
Each question card shows:
- A checkbox to include or exclude the question
- The question text (click to edit inline)
- An arc label (Opener, Background, Deep-dive, Forward-looking, Closer) indicating where in the conversation the question fits
You can:
- Uncheck questions you do not want the AI host to ask
- Edit any question by clicking its text and typing a replacement
- Add a custom question using the "Add your own" input at the bottom
- Regenerate all questions by clicking the regenerate button if the first batch misses the mark
The approved questions are shared with the guest on their briefing page before the interview starts, so they know what to expect. The AI host also uses them as conversation anchors.
Click Continue when you are satisfied with the question set.
Step 4: Review and send
The final step shows a summary on the left and an AI-drafted invite email on the right.
Summary card
The summary shows the guest name, topic, host, and duration in a compact card. Review these before sending.
Email preview
Mato drafts a personalized outreach email using the AI host's voice. The email includes:
- A greeting addressed to the guest by name
- An introduction from the host explaining the podcast and the interview topic
- The prepared questions (if you selected any)
- A call-to-action link where the guest can start the interview or schedule it for later
The email body is fully editable. Click anywhere in the text to rewrite sections, fix tone, or add your own details. In the current version, the subject line is generated automatically from the podcast name and topic and cannot be edited in the preview.
The email uses a <token> placeholder for the magic link. When you click Send invitation, Mato generates the actual token and replaces every occurrence of <token> in the email body with the real interview URL.
Sending
Click Send invitation to create the invite. Mato:
- Saves the guest profile (if scraped data exists)
- Creates the interview invite record with a unique magic-link token
- Sends the outreach email to the guest
- Shows a confirmation screen with the magic link
Copy the magic link from the confirmation screen if you need to share it through a different channel (Slack, text message, etc.). Click Done to close the dialog.
What the guest sees
When the guest clicks the magic link, they land on a three-step onboarding flow:
- Welcome: The guest sees the podcast name, host name, interview topic, estimated duration, and a "How it works" section explaining what to expect.
- Your details: The guest reviews and updates their profile (name, role, bio). If Mato scraped their LinkedIn, the fields are pre-filled. The guest also gives consent to participate and can opt in to episode-published notifications.
- Briefing: A final check before joining. Shows the interview topic, purpose, prepared questions, and a tech check (microphone, browser support, connection). The guest can optionally enable their camera for video clips. Clicking Join interview starts the live conversation with the AI host.
Magic links do not expire. The guest can return to the same link at any time to review their profile or re-enter the interview.
Manage pending invites
The Interviews tab splits into two columns: Completed interviews on the left and Pending interviews on the right. Use the search bar at the top to filter by guest name or topic.
Each invite card shows the guest name (or email if no name is set), the interview topic, and when it was sent.
Copy the magic link
Click the three-dot menu on any invite card and select Copy link. This copies the magic link to your clipboard so you can share it through Slack, text message, or any other channel.
Mato sends automatic reminders to guests who have not yet joined their interview. If you need to reach the guest outside those reminders, use the copied link.
View invite details
Click an invite card (or select View details from the three-dot menu) to open the detail page. The detail page shows:
- Guest name, email, topic, purpose, duration, and prepared questions
- The guest's profile (if they completed it)
- The magic link with copy and open-in-new-tab buttons
- A status timeline showing when the invite was created, when the guest completed their profile, and when the interview finished
Delete an invite
Select Delete interview from the three-dot menu. A confirmation dialog appears. Deleting an invite removes it permanently and invalidates the magic link.
Invite from the podcast overview
You do not need to go to the Interviews tab to start a new invite. On the podcast overview page, the Interviews card has a + button that links directly to the Interviews tab with the invite wizard already open. This is a quick shortcut when you are looking at the podcast dashboard and want to schedule a new interview without extra clicks.
What to do next
Once your guest joins, see Guest recording guide for what they experience inside the interview room. After the interview wraps up, Review interview segments covers how to score and select the best parts for your episode.