Content sources are the RSS feeds that supply your podcast with raw material. Mato pulls articles from these feeds on a schedule, scores them for relevance, and uses the best ones when generating episode scripts. Without at least one content source, Mato has nothing to work with.
This guide covers adding feeds, filtering articles by keyword, and managing sources after they are set up.
Open the Content Sources page
From your podcast, click Content Sources in the tab bar below the podcast header. You can also reach it from the sidebar on the left.
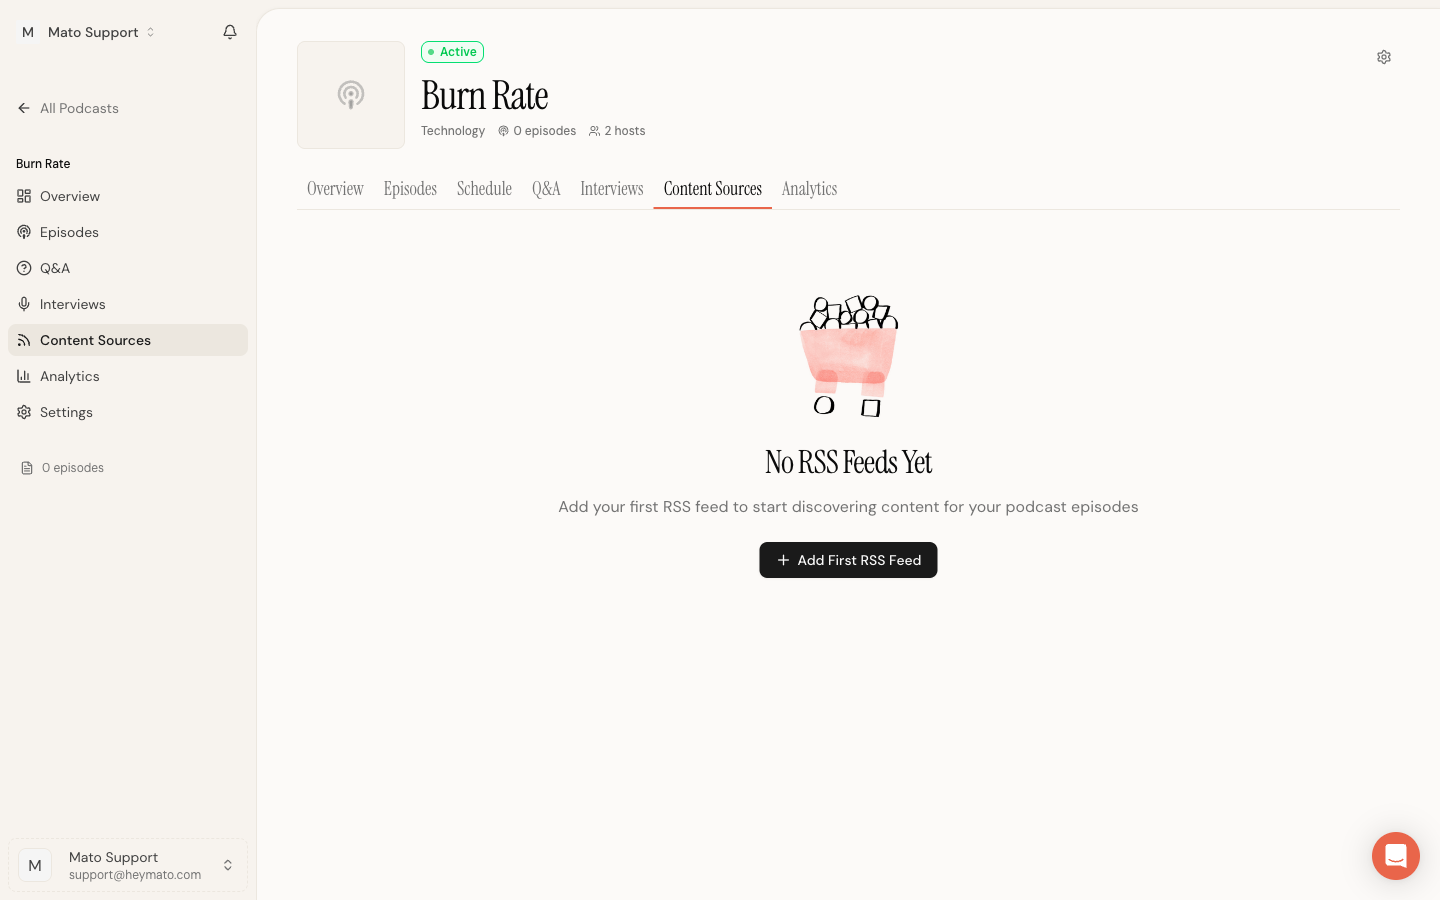
If this is a new podcast, you will see an empty state with a button to add your first feed.
Add an RSS feed
Click Add First RSS Feed (on the empty state) or Add Content (on the toolbar, top right) to open the feed dialog.
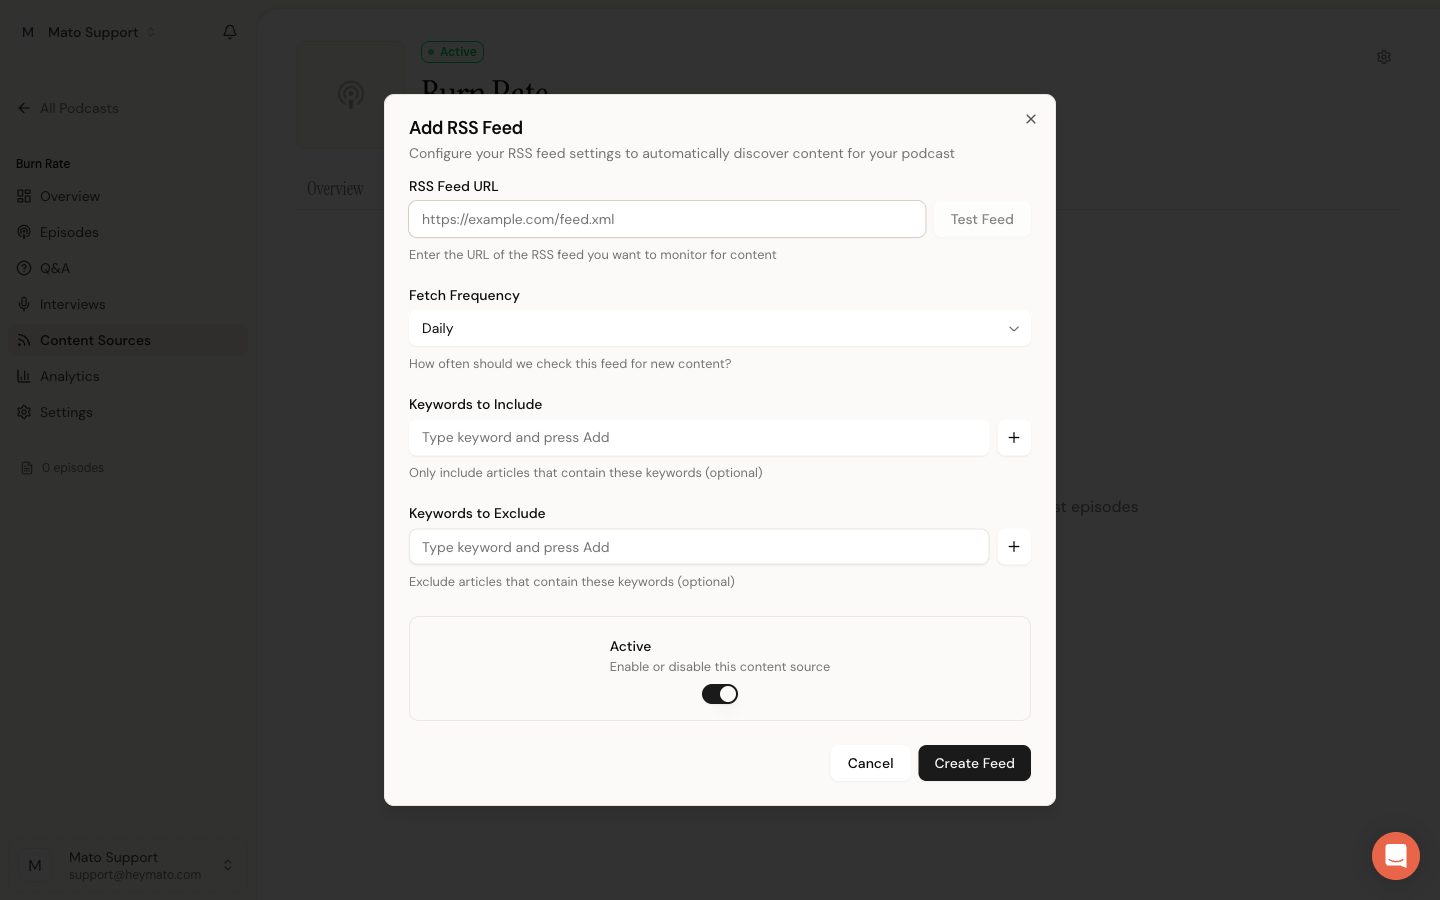
The dialog has five fields:
RSS Feed URL is the feed address. Paste the full URL (for example,
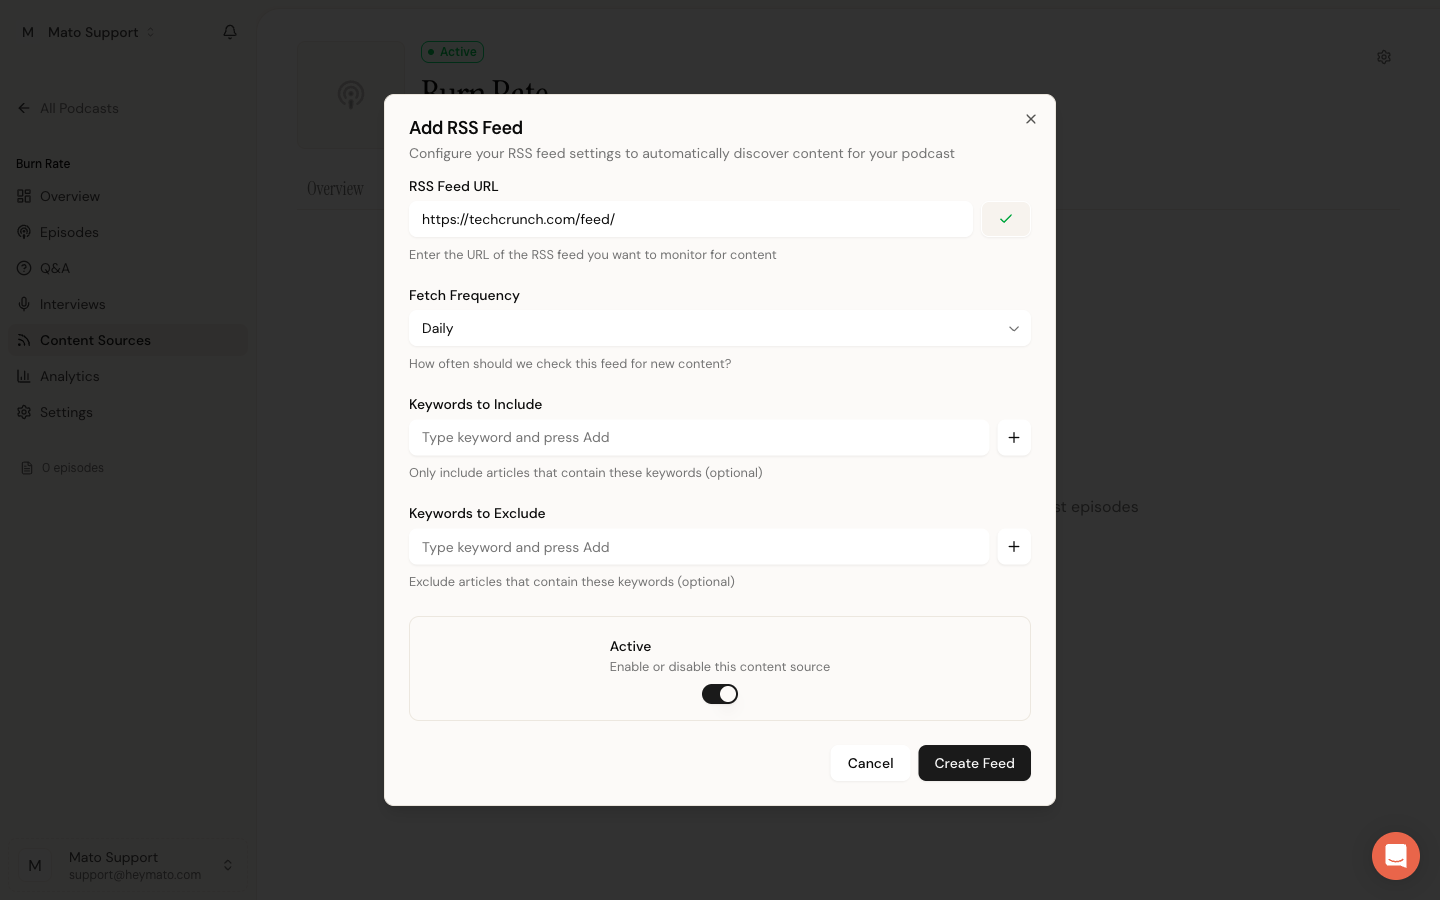
https://techcrunch.com/feed/). If you are not sure where to find the RSS feed for a website, look for an RSS icon on the site or search for "site name RSS feed" in your browser. During podcast creation, Mato tries to auto-discover your website's RSS feed if you provide your company URL.Test Feed validates the URL before you save. Click it and wait a few seconds. A green checkmark means the feed is valid. A red X means Mato could not parse it. Check the URL and try again.
Fetch Frequency controls how often Mato checks the feed for new articles. Options are Hourly, Daily (the default), and Weekly. Pick a frequency that matches how often the source publishes.
Keywords to Include and Keywords to Exclude are optional filters. They let you narrow down which articles get pulled in. Type a keyword and press Enter or click the + button. Articles that do not match your include keywords (or that match your exclude keywords) are skipped during fetch. More detail in the next section.
Active toggle enables or disables the source. It defaults to on.
Click Create Feed when you are ready. Mato immediately fetches articles from the feed in the background. Within a minute or two, you will see the article count update on the source card.
If you paste a Google News RSS feed, Mato shows a blue banner confirming detection. Article URLs from Google News feeds are automatically decoded to their original sources.
Filter articles with keywords
Keyword filters help you focus on the topics that matter to your podcast. For example, a podcast about B2B SaaS might include "SaaS", "enterprise", and "funding" while excluding "consumer" and "gaming".
Include keywords are additive: an article passes if it contains any one of them. Exclude keywords override: if an article matches any exclude keyword, it is skipped regardless of include matches.
You can add or change keywords at any time by editing the source (see below). Changes apply to the next fetch, not retroactively.
Manage your sources
After creating a feed, it appears as a card on the Content Sources page.
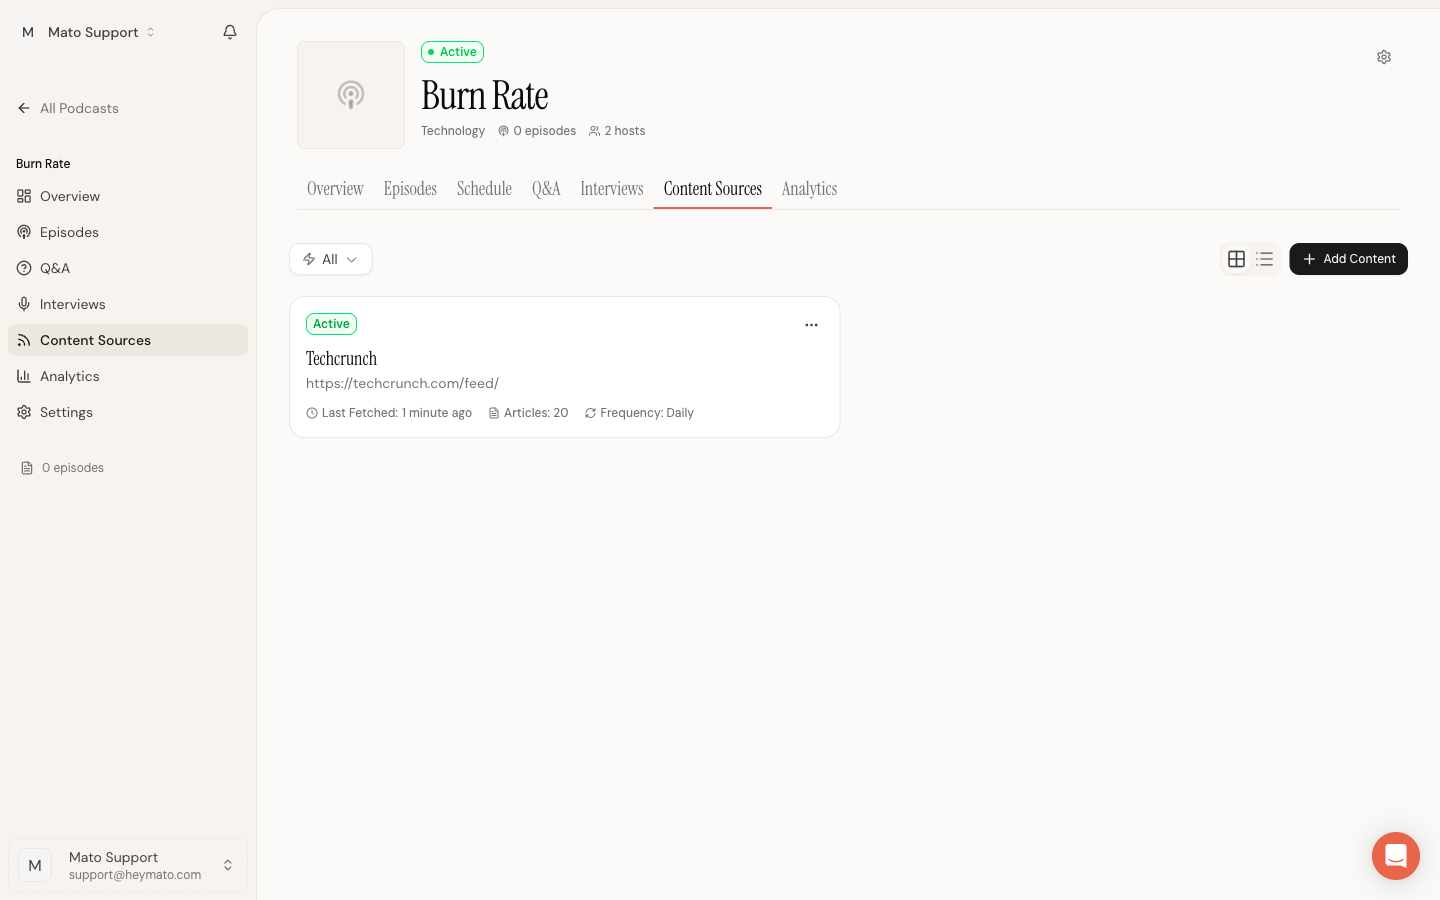
Each card shows the source name (extracted from the feed URL), the feed address, when it was last fetched, how many articles it found, and the fetch frequency.
Click the three-dot menu on a card to see your options:
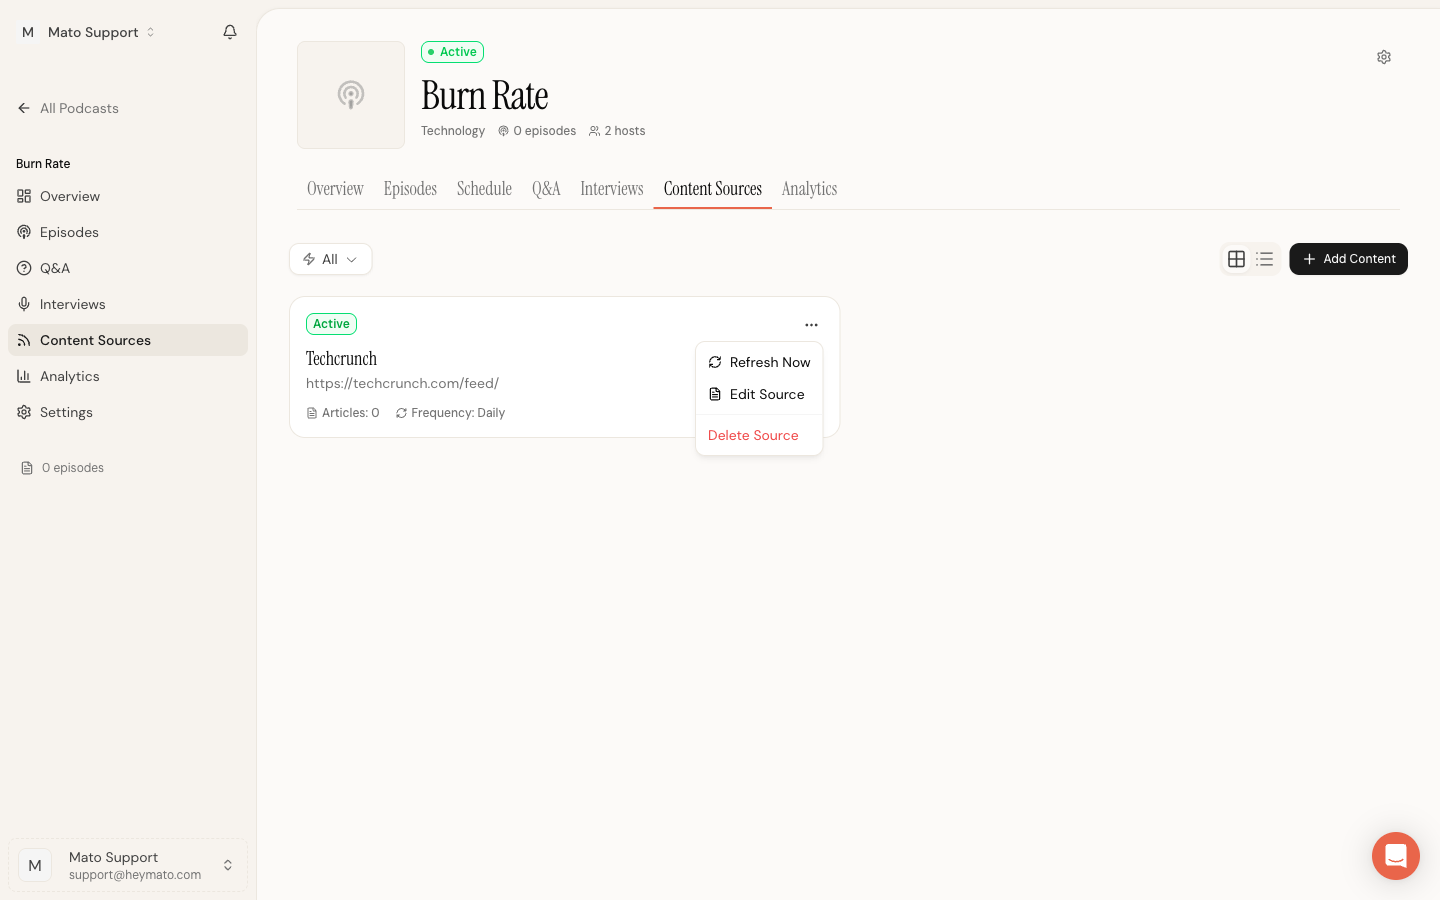
- Refresh Now triggers an immediate fetch without waiting for the next scheduled run.
- Edit Source reopens the feed dialog so you can change the URL, frequency, keywords, or active status.
- Delete Source removes the feed and its fetched articles. This cannot be undone.
Use the Status dropdown in the toolbar to filter the list by Active or Inactive sources. The grid/list toggle next to it switches the card layout.
To temporarily stop a feed from fetching without deleting it, open Edit Source and turn off the Active toggle. You can re-enable it later.
How content sources feed into episodes
When you generate an episode, Mato looks at the articles fetched from your active content sources within the past seven days (configurable in podcast settings under Content Age Filter). It scores each article for relevance to your podcast's topic, then selects the best ones to build the episode outline and script.
Featured articles get priority. You can star articles from inside a source's article list (click a source card to open it) and those articles move to the front of the queue.
If no articles are available when you trigger generation, Mato attempts a fresh fetch before proceeding. This means a brand-new feed with no prior articles can still produce an episode immediately, as long as the feed has recent content.
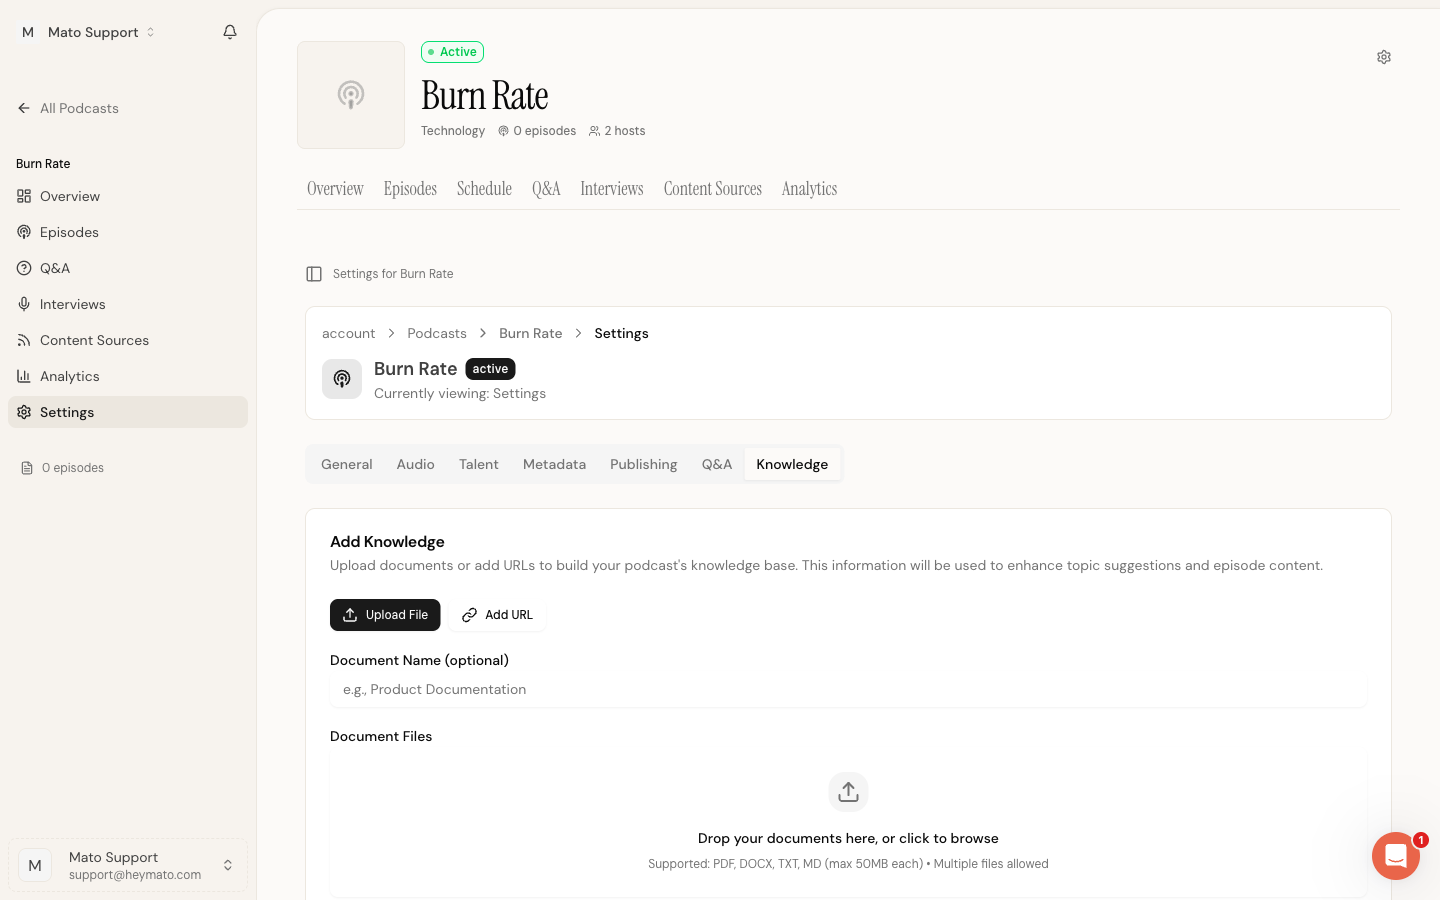
Upload documents to the knowledge base
RSS feeds are not the only way to give Mato context. The Knowledge tab in your podcast settings lets you upload documents (.pdf, .docx, .txt, .md) that Mato uses as background material during generation. This is useful for company fact sheets, product briefs, or style guides that should inform every episode.
Knowledge base documents work alongside content sources. RSS feeds provide the news. Knowledge base documents provide the context. Mato draws on both when generating episodes.
What to do next
Your content sources are connected. The next step is to generate your first episode: open the podcast, click generate, review the script, and render audio. That step has its own guide in the Help Center.